
Deploy FormVu on Google Cloud Platform (GCP)
Table of contents
- Download or Build the WAR file
- Creating a Project
- Making a Virtual Machine(VM) instance
- Deploy a container image
- Mount volumes
- Upload the WAR file
- Finish HTTPS configuration
- Running FormVu
- Running FormVu from different language clients
The simplest way to run FormVu on Google Cloud Platform is to run a single container on a standalone instance. We can do this by specifying a container image when we create the instance:
Download or Build the WAR file
Before getting started you need the WAR file which you can either download or build yourself.
This WAR file is required for the FormVu service to work.
Download the WAR file
Download the formvu-microservice.war file.
Trial users can find the war download in the Docker section after trial signup.
Building the WAR file
Build a copy of our FormVu Microservice Example project.
Instructions can be found on the GitHub page.
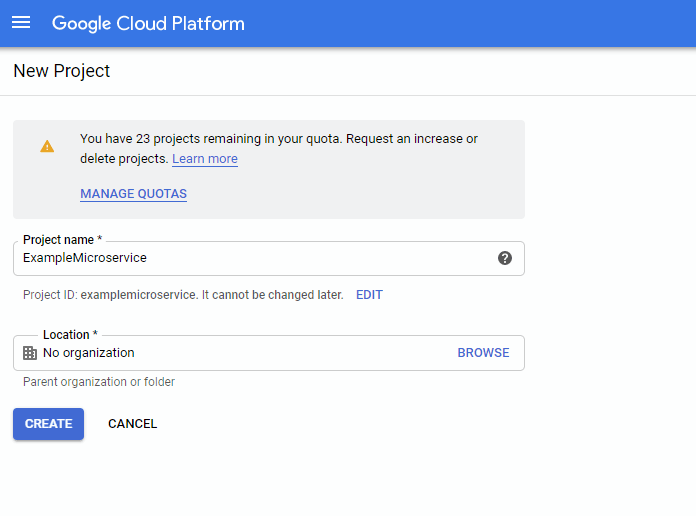
Creating a Project
Once the WAR file is downloaded, start by creating a project in GCP:
When your project is ready, you should see the following screen:

Click on ‘Compute Engine’ in the sidebar, it will take you to the following screen: 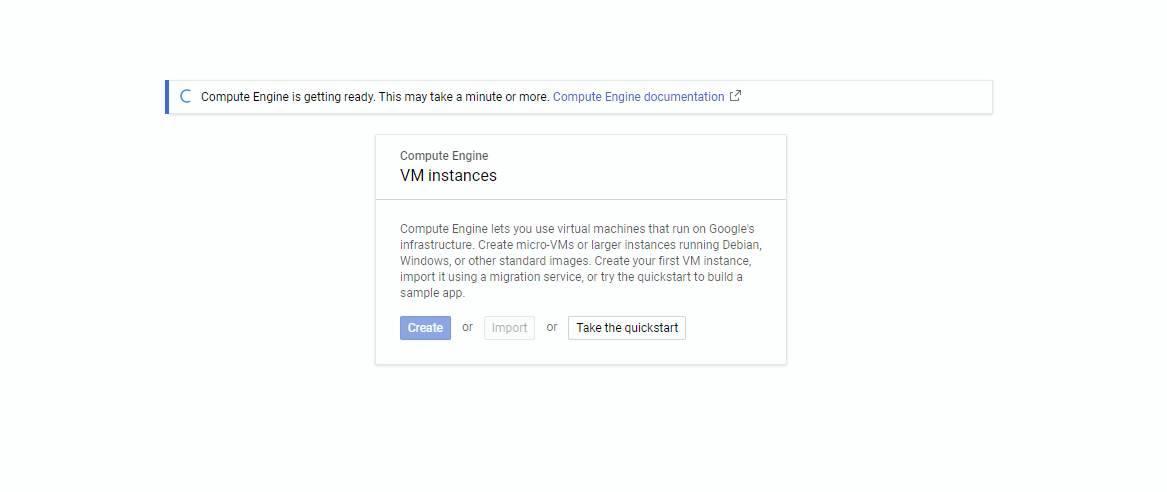
Making a Virtual Machine(VM) instance
Once the spinner disappears, the ‘Create’ button should become active. Click it. You will see the ‘Create Instance’ screen:
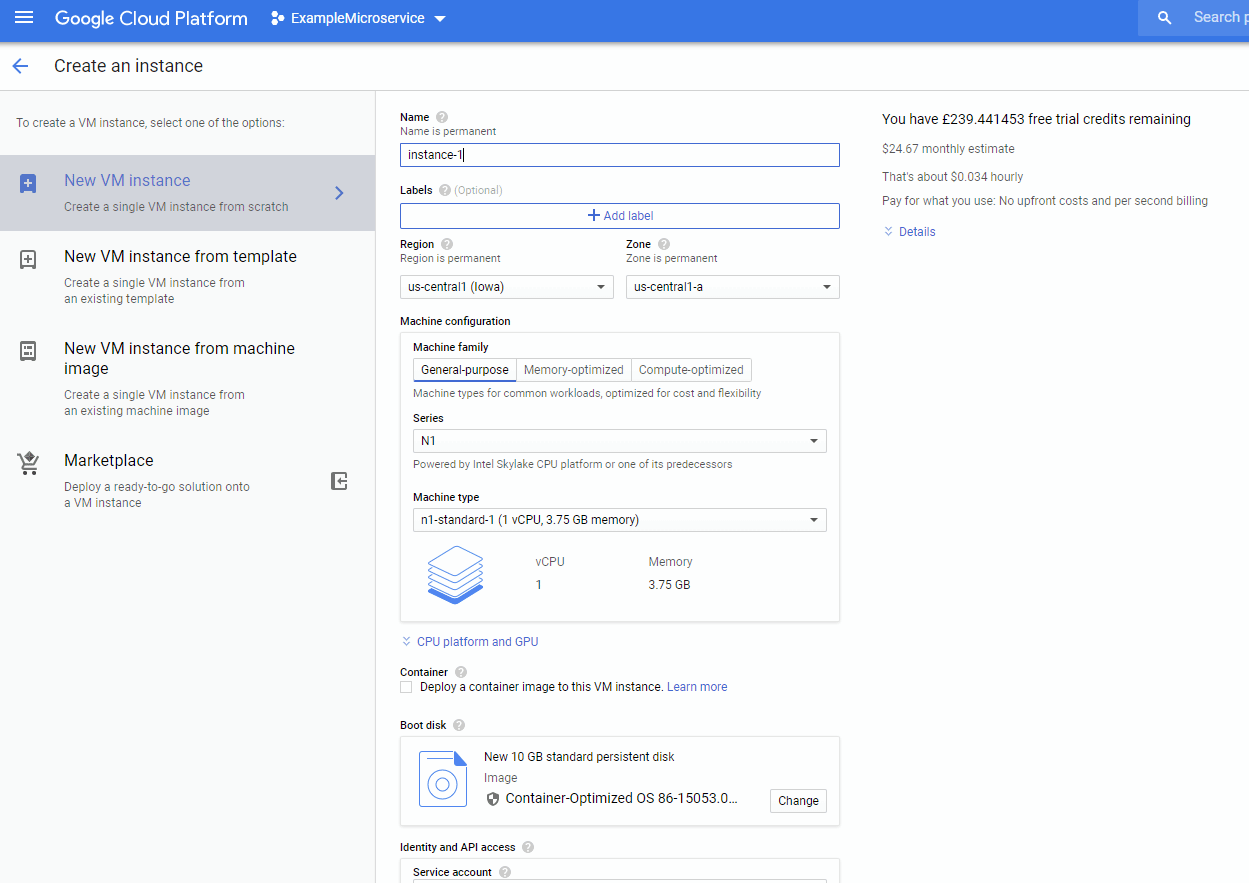
Give your instance a name and pick a region near you.The default Zone and machine configuration should be fine.

Deploy a container image
Now tick ‘Deploy a container image to this VM instance’, and a new field should appear where you can enter your image name. Enter idrsolutions/formvu
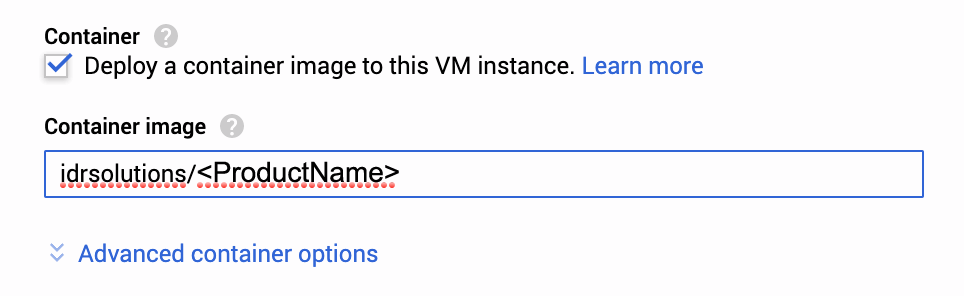
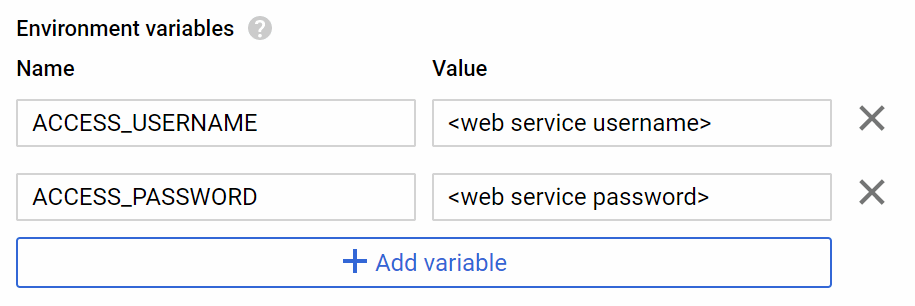
If you want to add authentication to the server, Click ‘Advanced container options’ and add the following environment variables:
Mount volumes
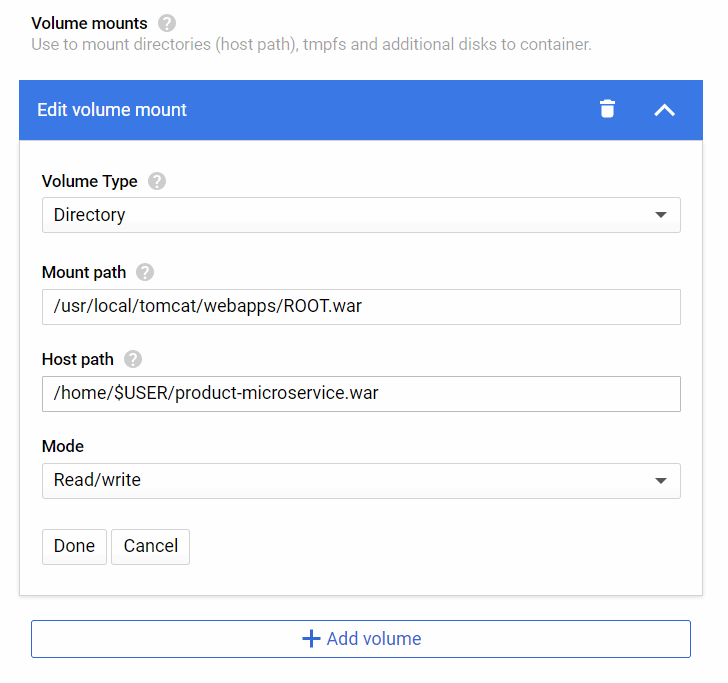
The FormVu docker image requires for the formvu-microservice.war file to be mounted in order to function. To achieve this you should click ‘Add volume’ under volume mounts. Fill in the form as follows, make sure to replace $USER with your username, then click ‘Done’.
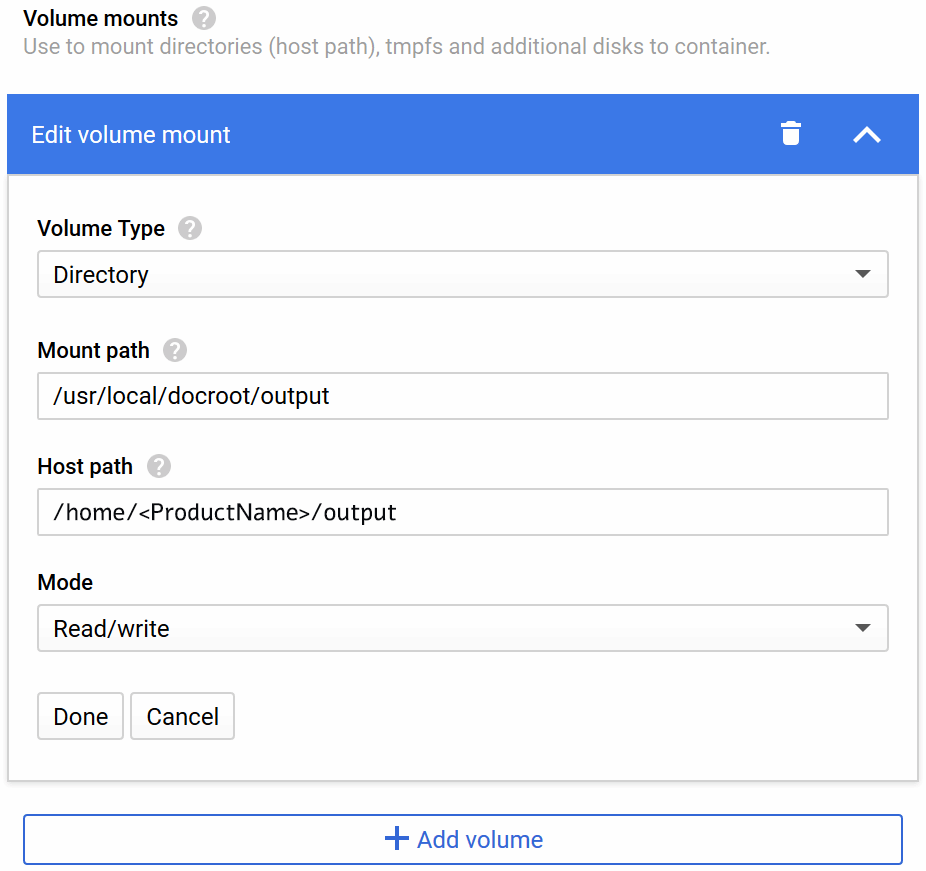
If you wish to save the resulting output files from conversion indefinitely you will want to mount a persistent volume to store them. Click ‘Add volume’ again to define an additional volume, then fill in the form as follows, then click ‘Done’.
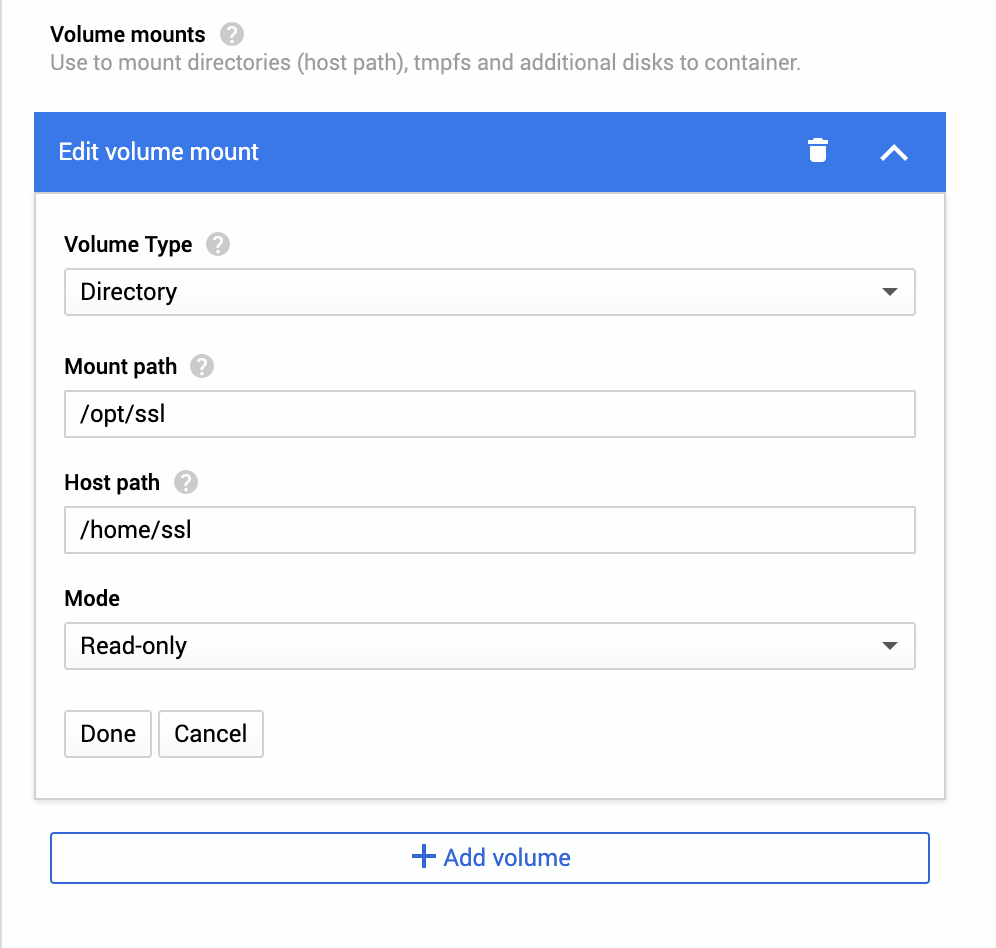
If you intend to use HTTPS encryption (recommended), you should also define an additional volume where you can upload your SSL certificate and private key.
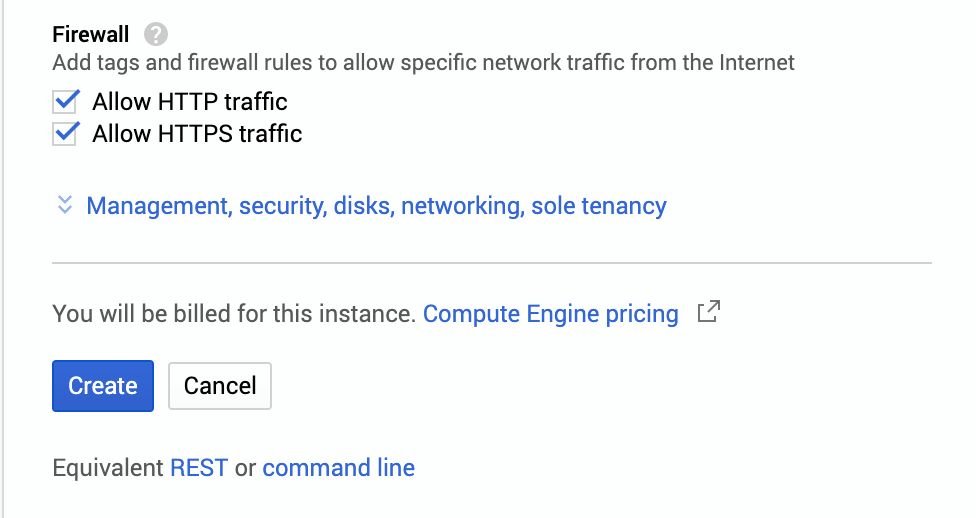
Scroll down to the ‘Firewall’ section and click ‘Allow HTTP traffic’, then click ‘Create’
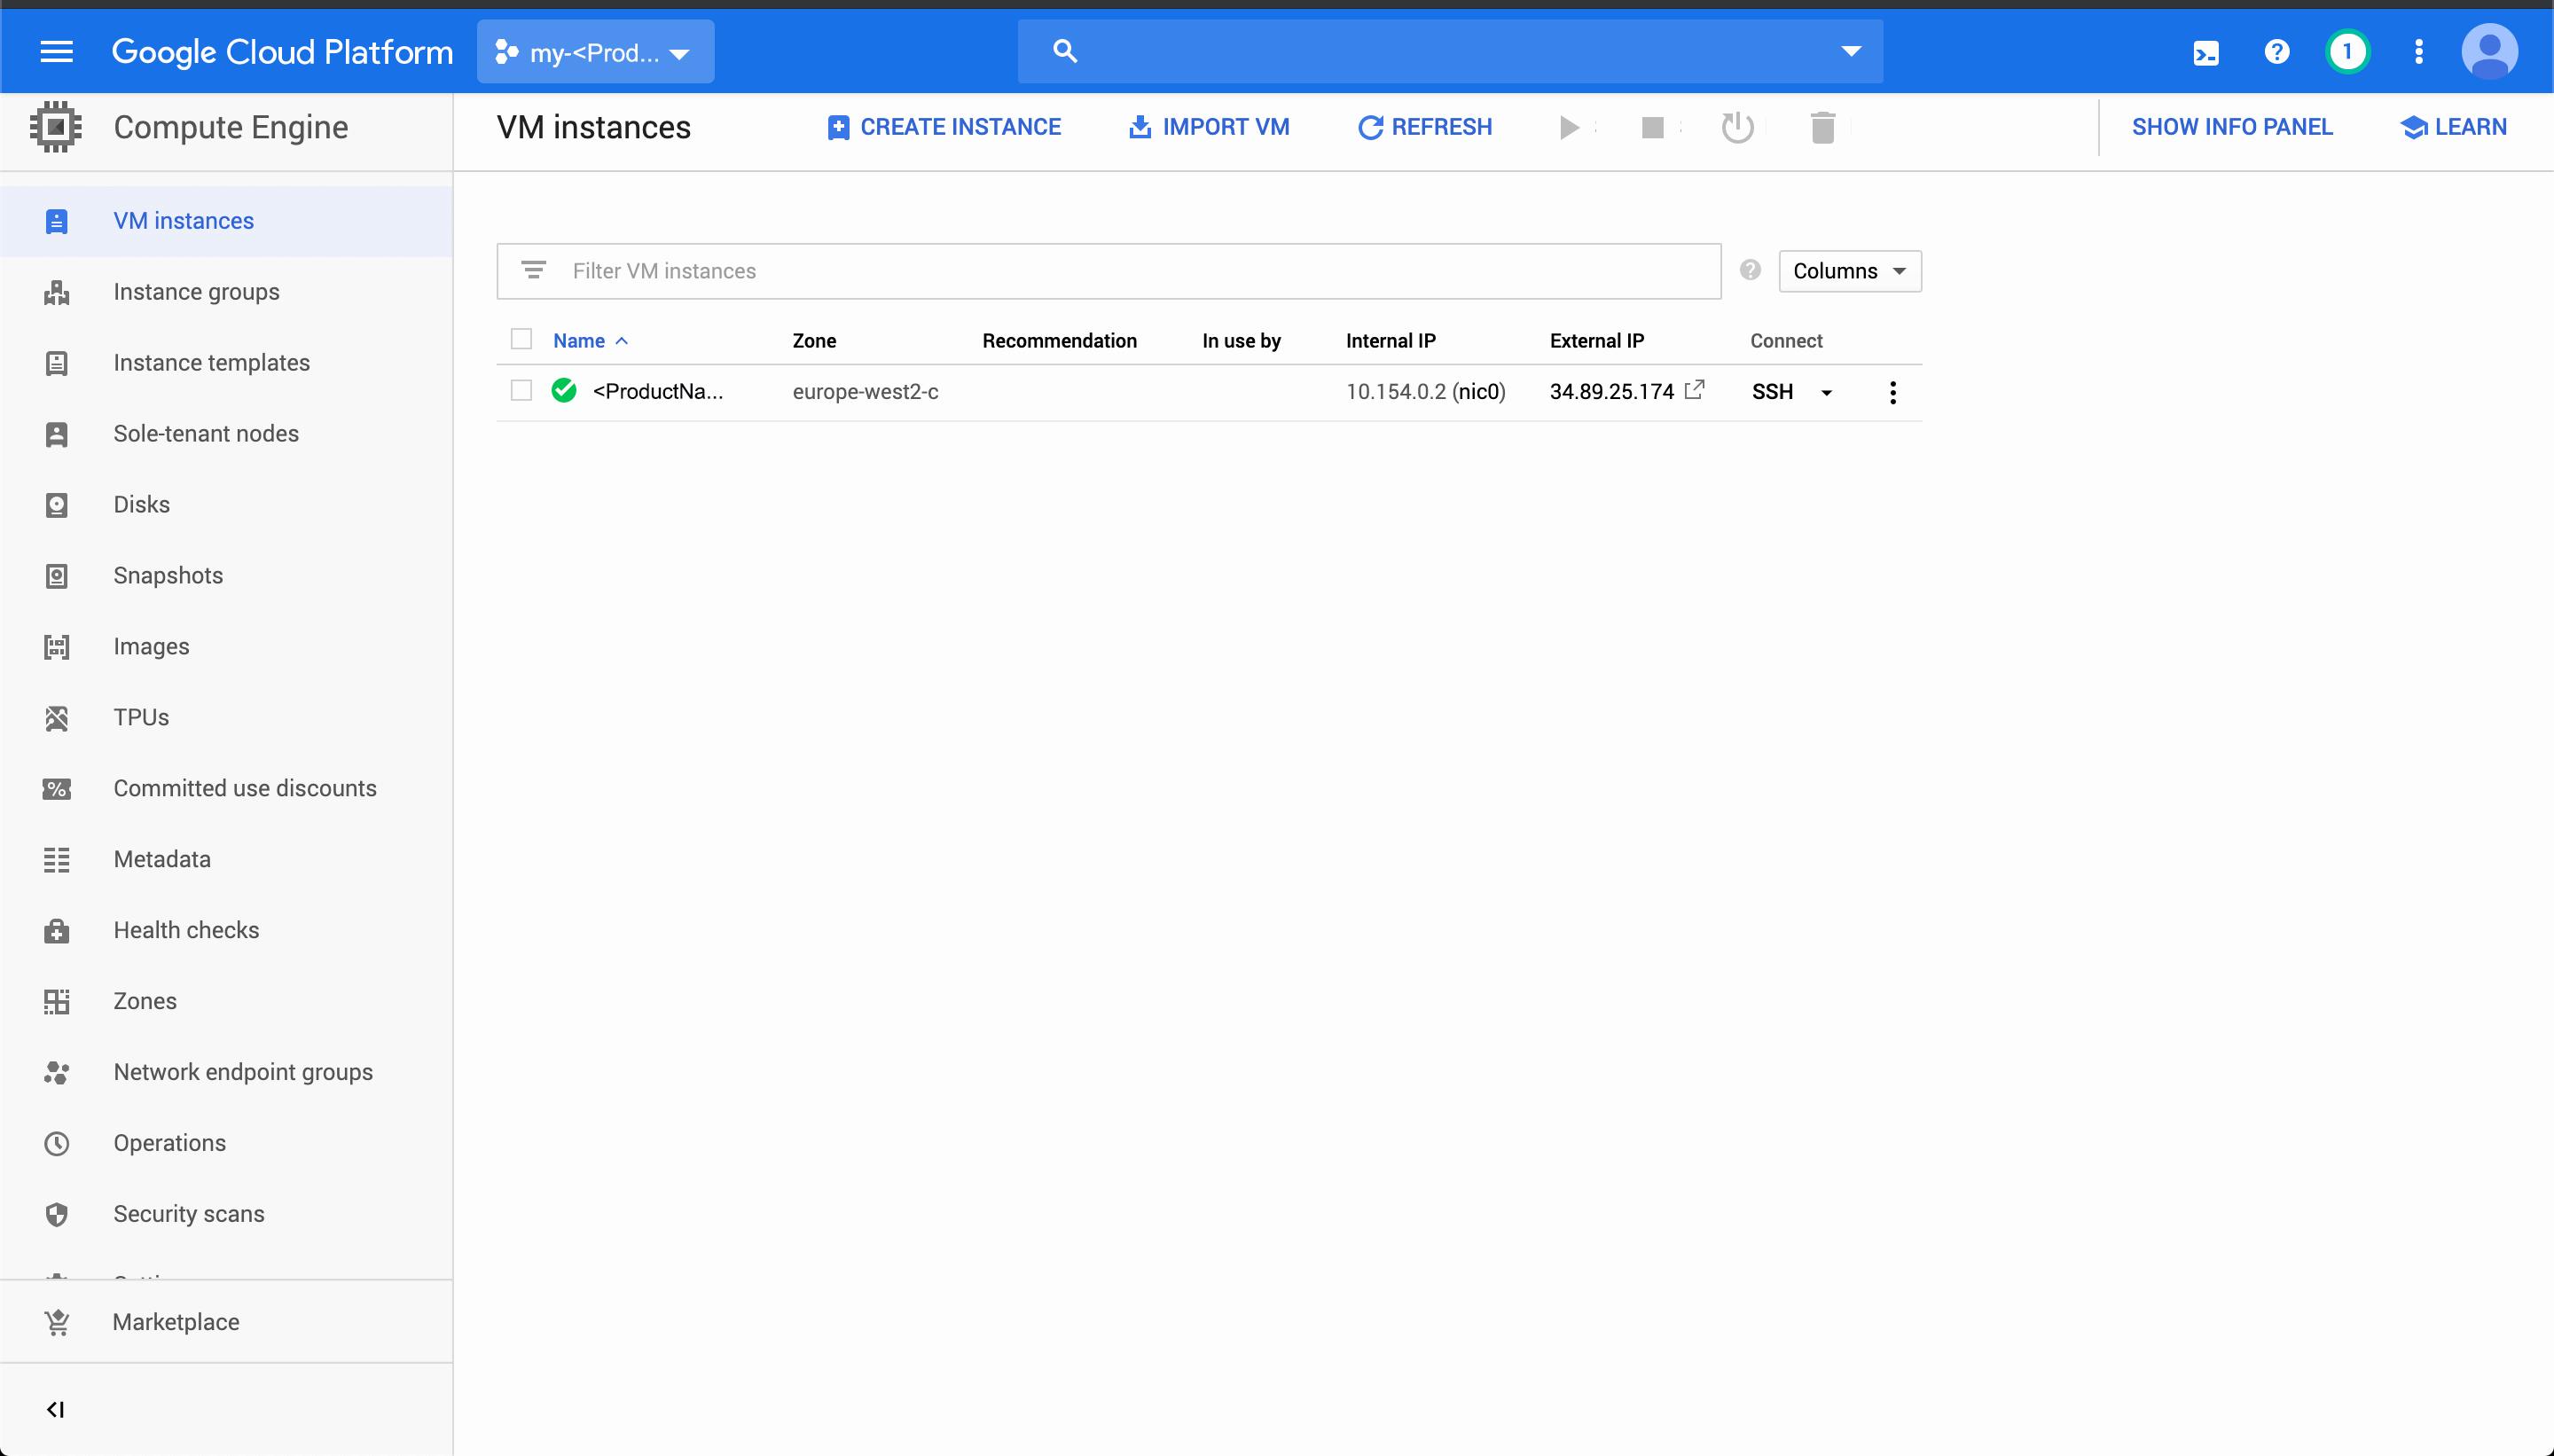
Your instance will be built and appear on the following screen when ready:
Upload the WAR file
This tutorial demonstrates how to do this via SSH, though other methods are available.
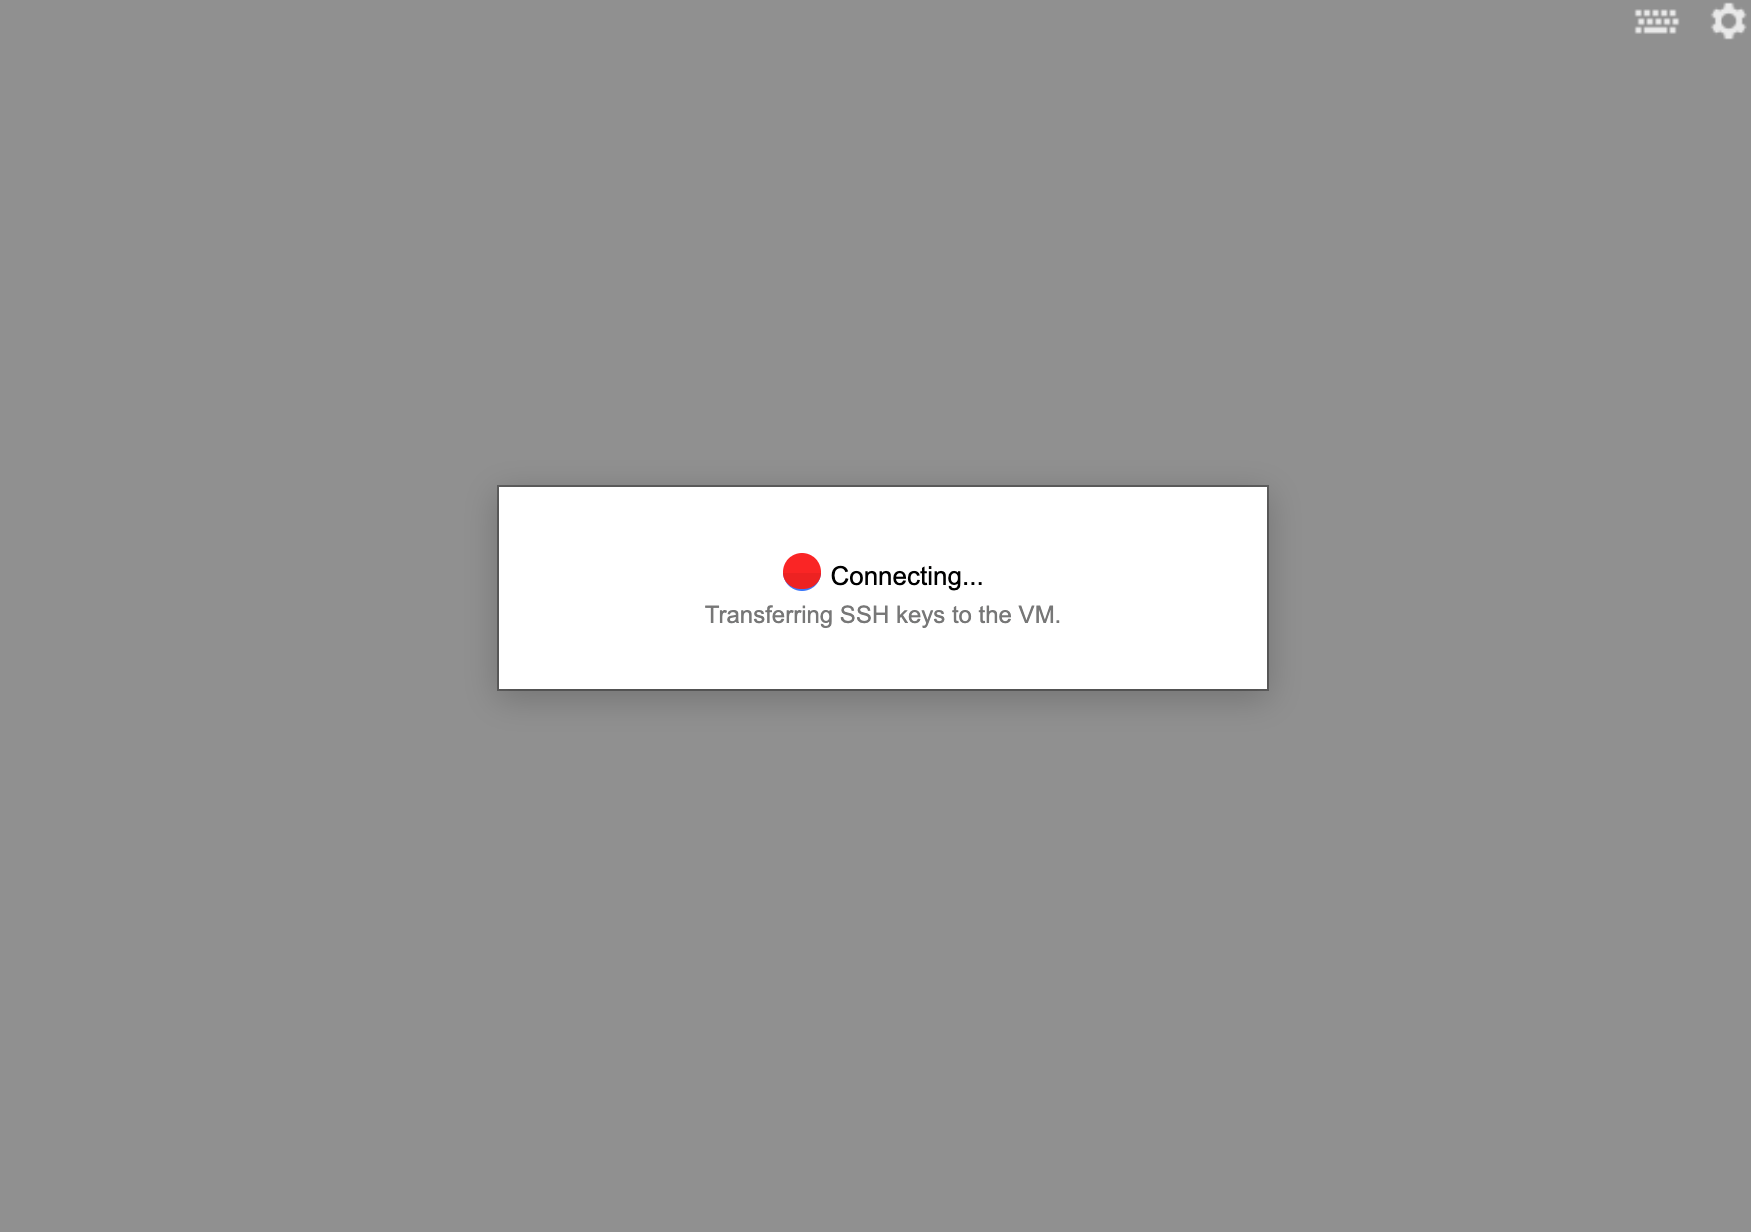
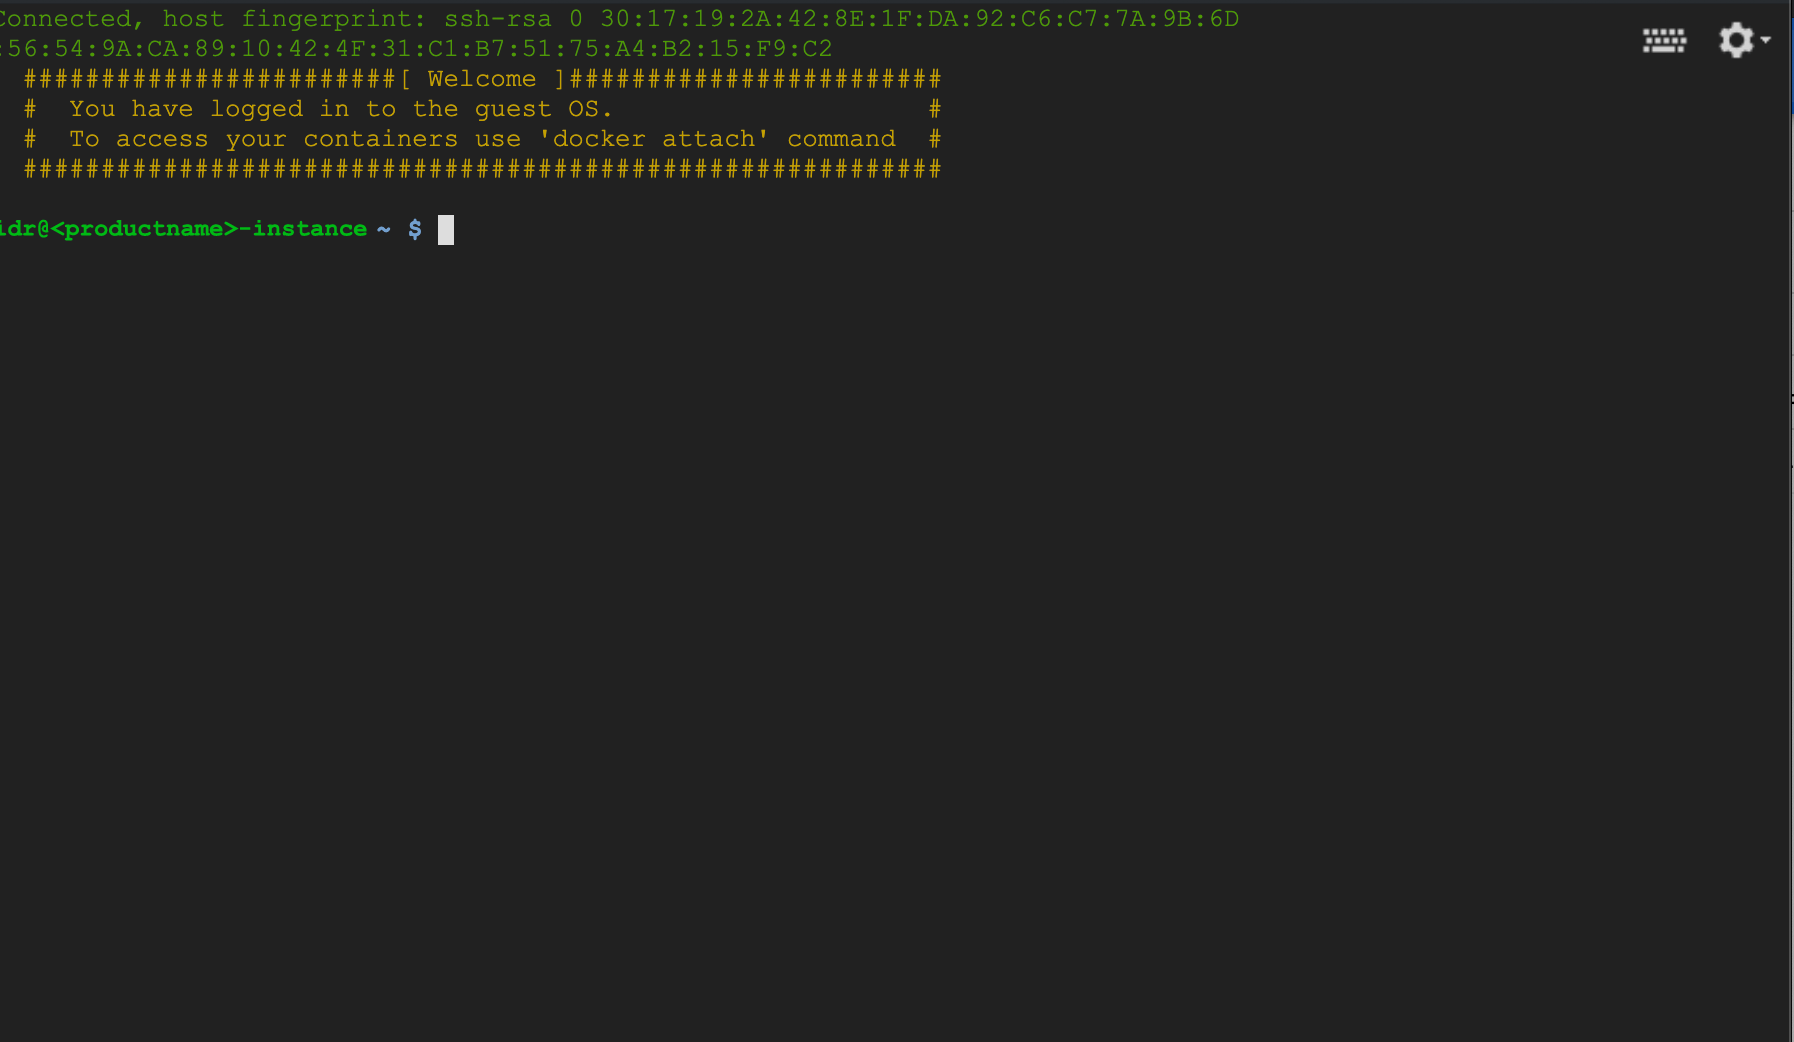
Once your instance is created, give it a few minutes to pull the image and start up the container. After making the changes in this stage, you will need to restart the VM. Under ‘Connect’ click on ‘SSH’. This will open a window like the following:
Once the connection is established, click the gear icon in the upper right of the window, select ‘Upload file’.
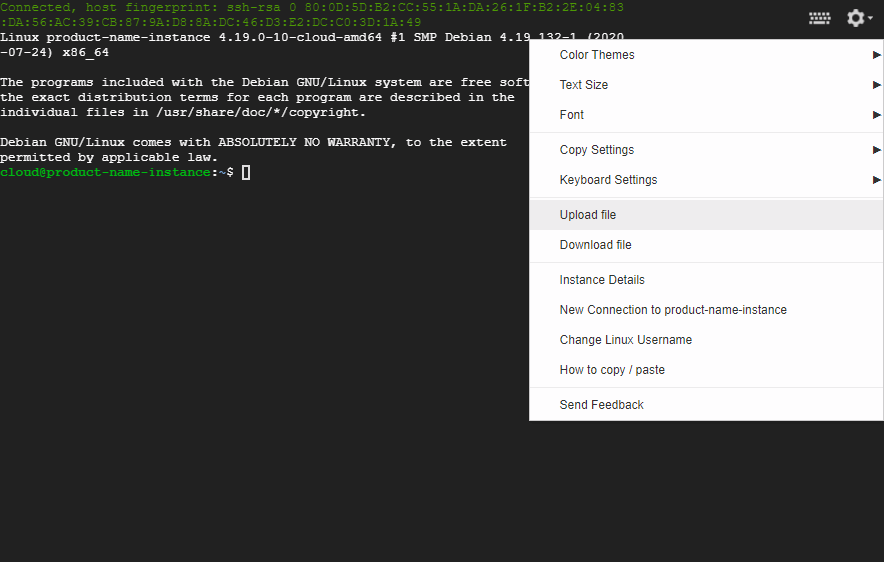
Select the war file, and click ‘Okay’.
By default, this will upload to the /home/$USER directory, where the volume mount is set to.
If you plan to enable HTTPS move to the next section.
Otherwise, restart the VM after making these changes to ensure that the service starts correctly. Wait a few minutes again for the container to start up and move to Running FormVu.
Finish HTTPS configuration
To finish enabling HTTPS, you will need to upload the certificate.crt, private.key and ca_bundle.crt files to /home/ssl once the instance is running. Click the SSH button to open a web console:
Navigate to the /home/ssl directory, then create a new file called certificate.crt and paste the contents of your certificate file into it. This can be done using vim.
To open the file use
sudo vim certificate.crt
Once open press ‘i’ to enter edit mode then paste your contents.
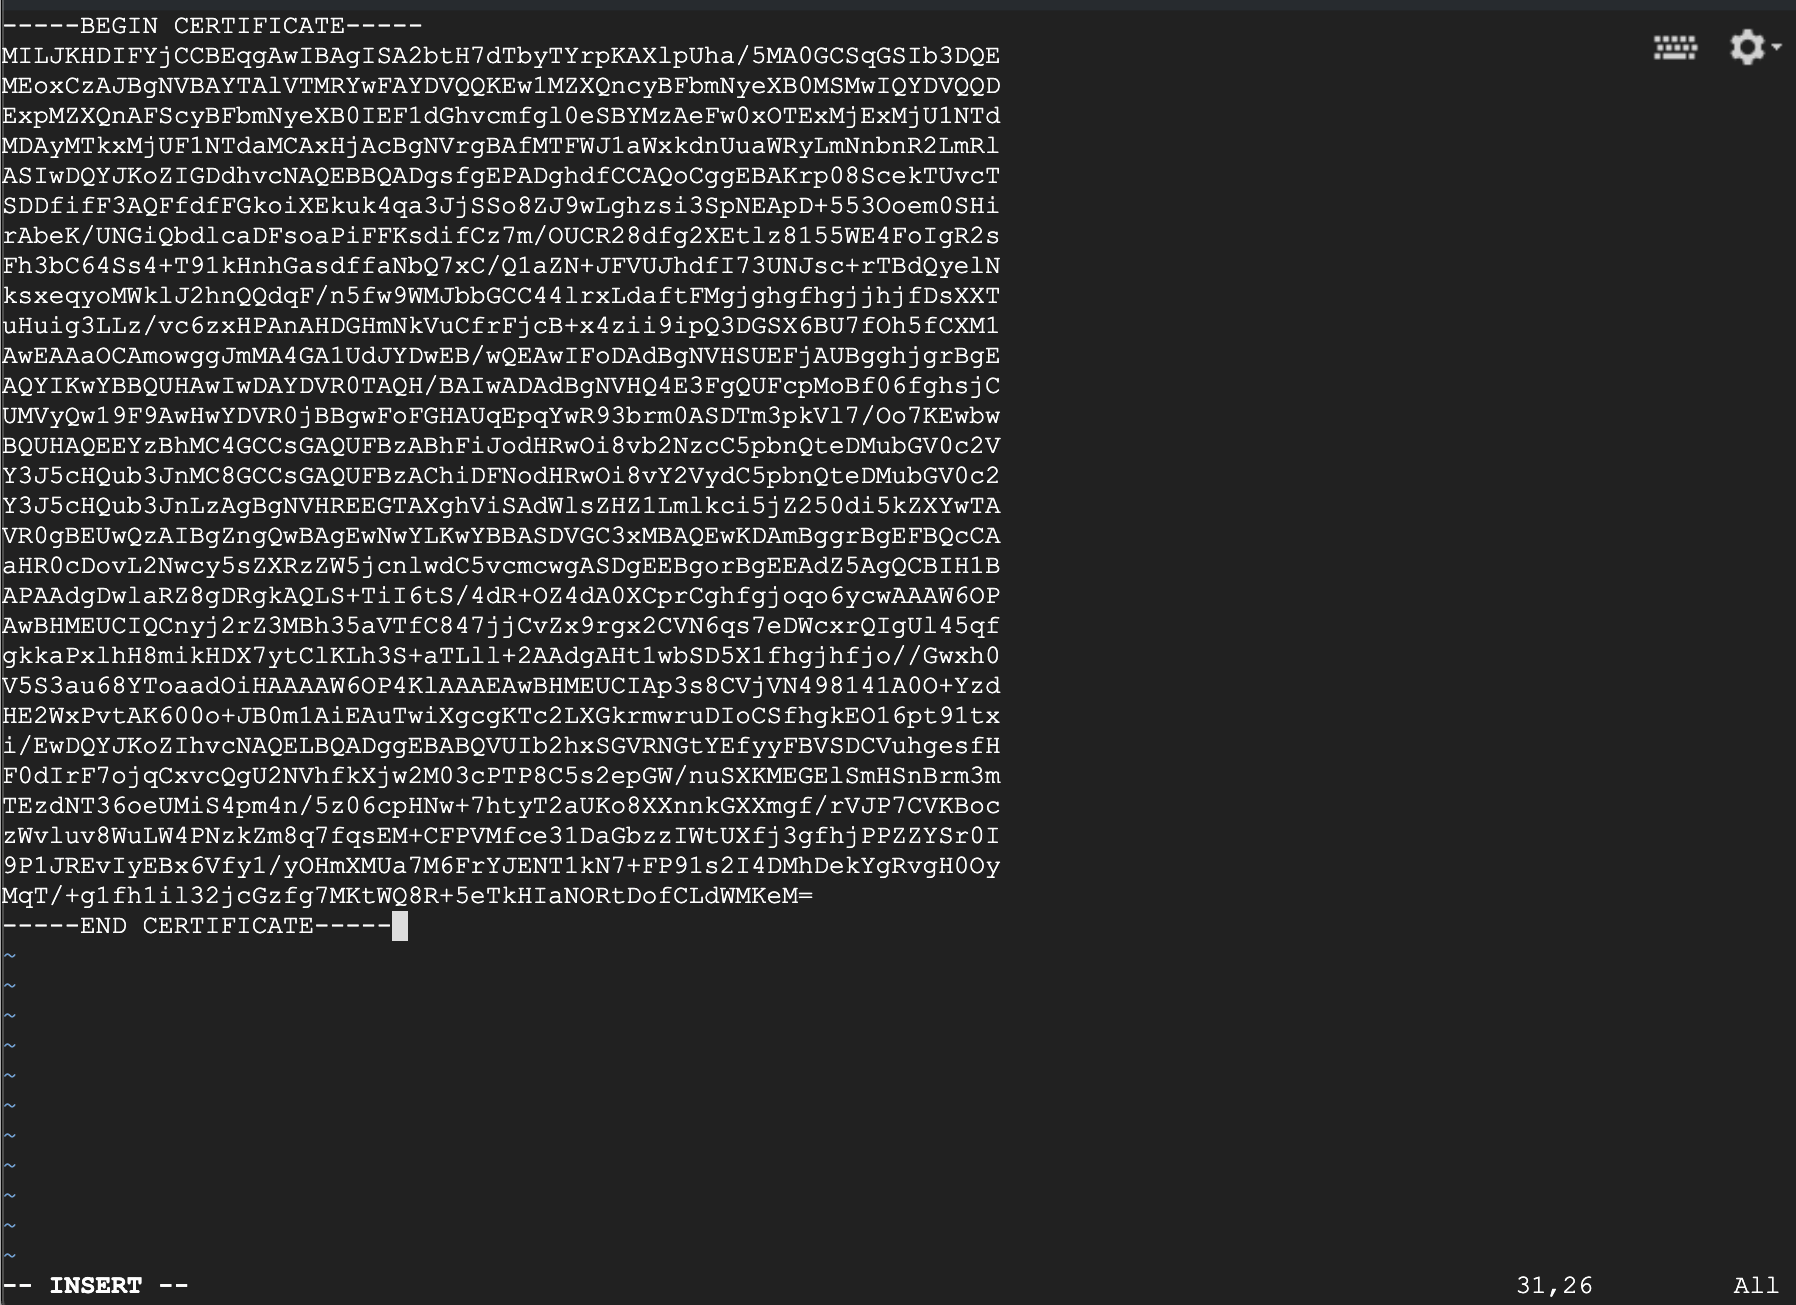
Save the file (ESC followed by :wq ENTER). Now do the same for you private key, making sure to call the file private.key, and for the certificate chain, calling it ca_bundle.crt.
FormVu will detect the presence of the certificate and launch in HTTPS mode. All HTTP traffic will be automatically upgraded to use HTTPS encryption.
Restart the VM after making these changes to ensure that the service starts correctly. Wait a few minutes again for the container to start up.
Running FormVu
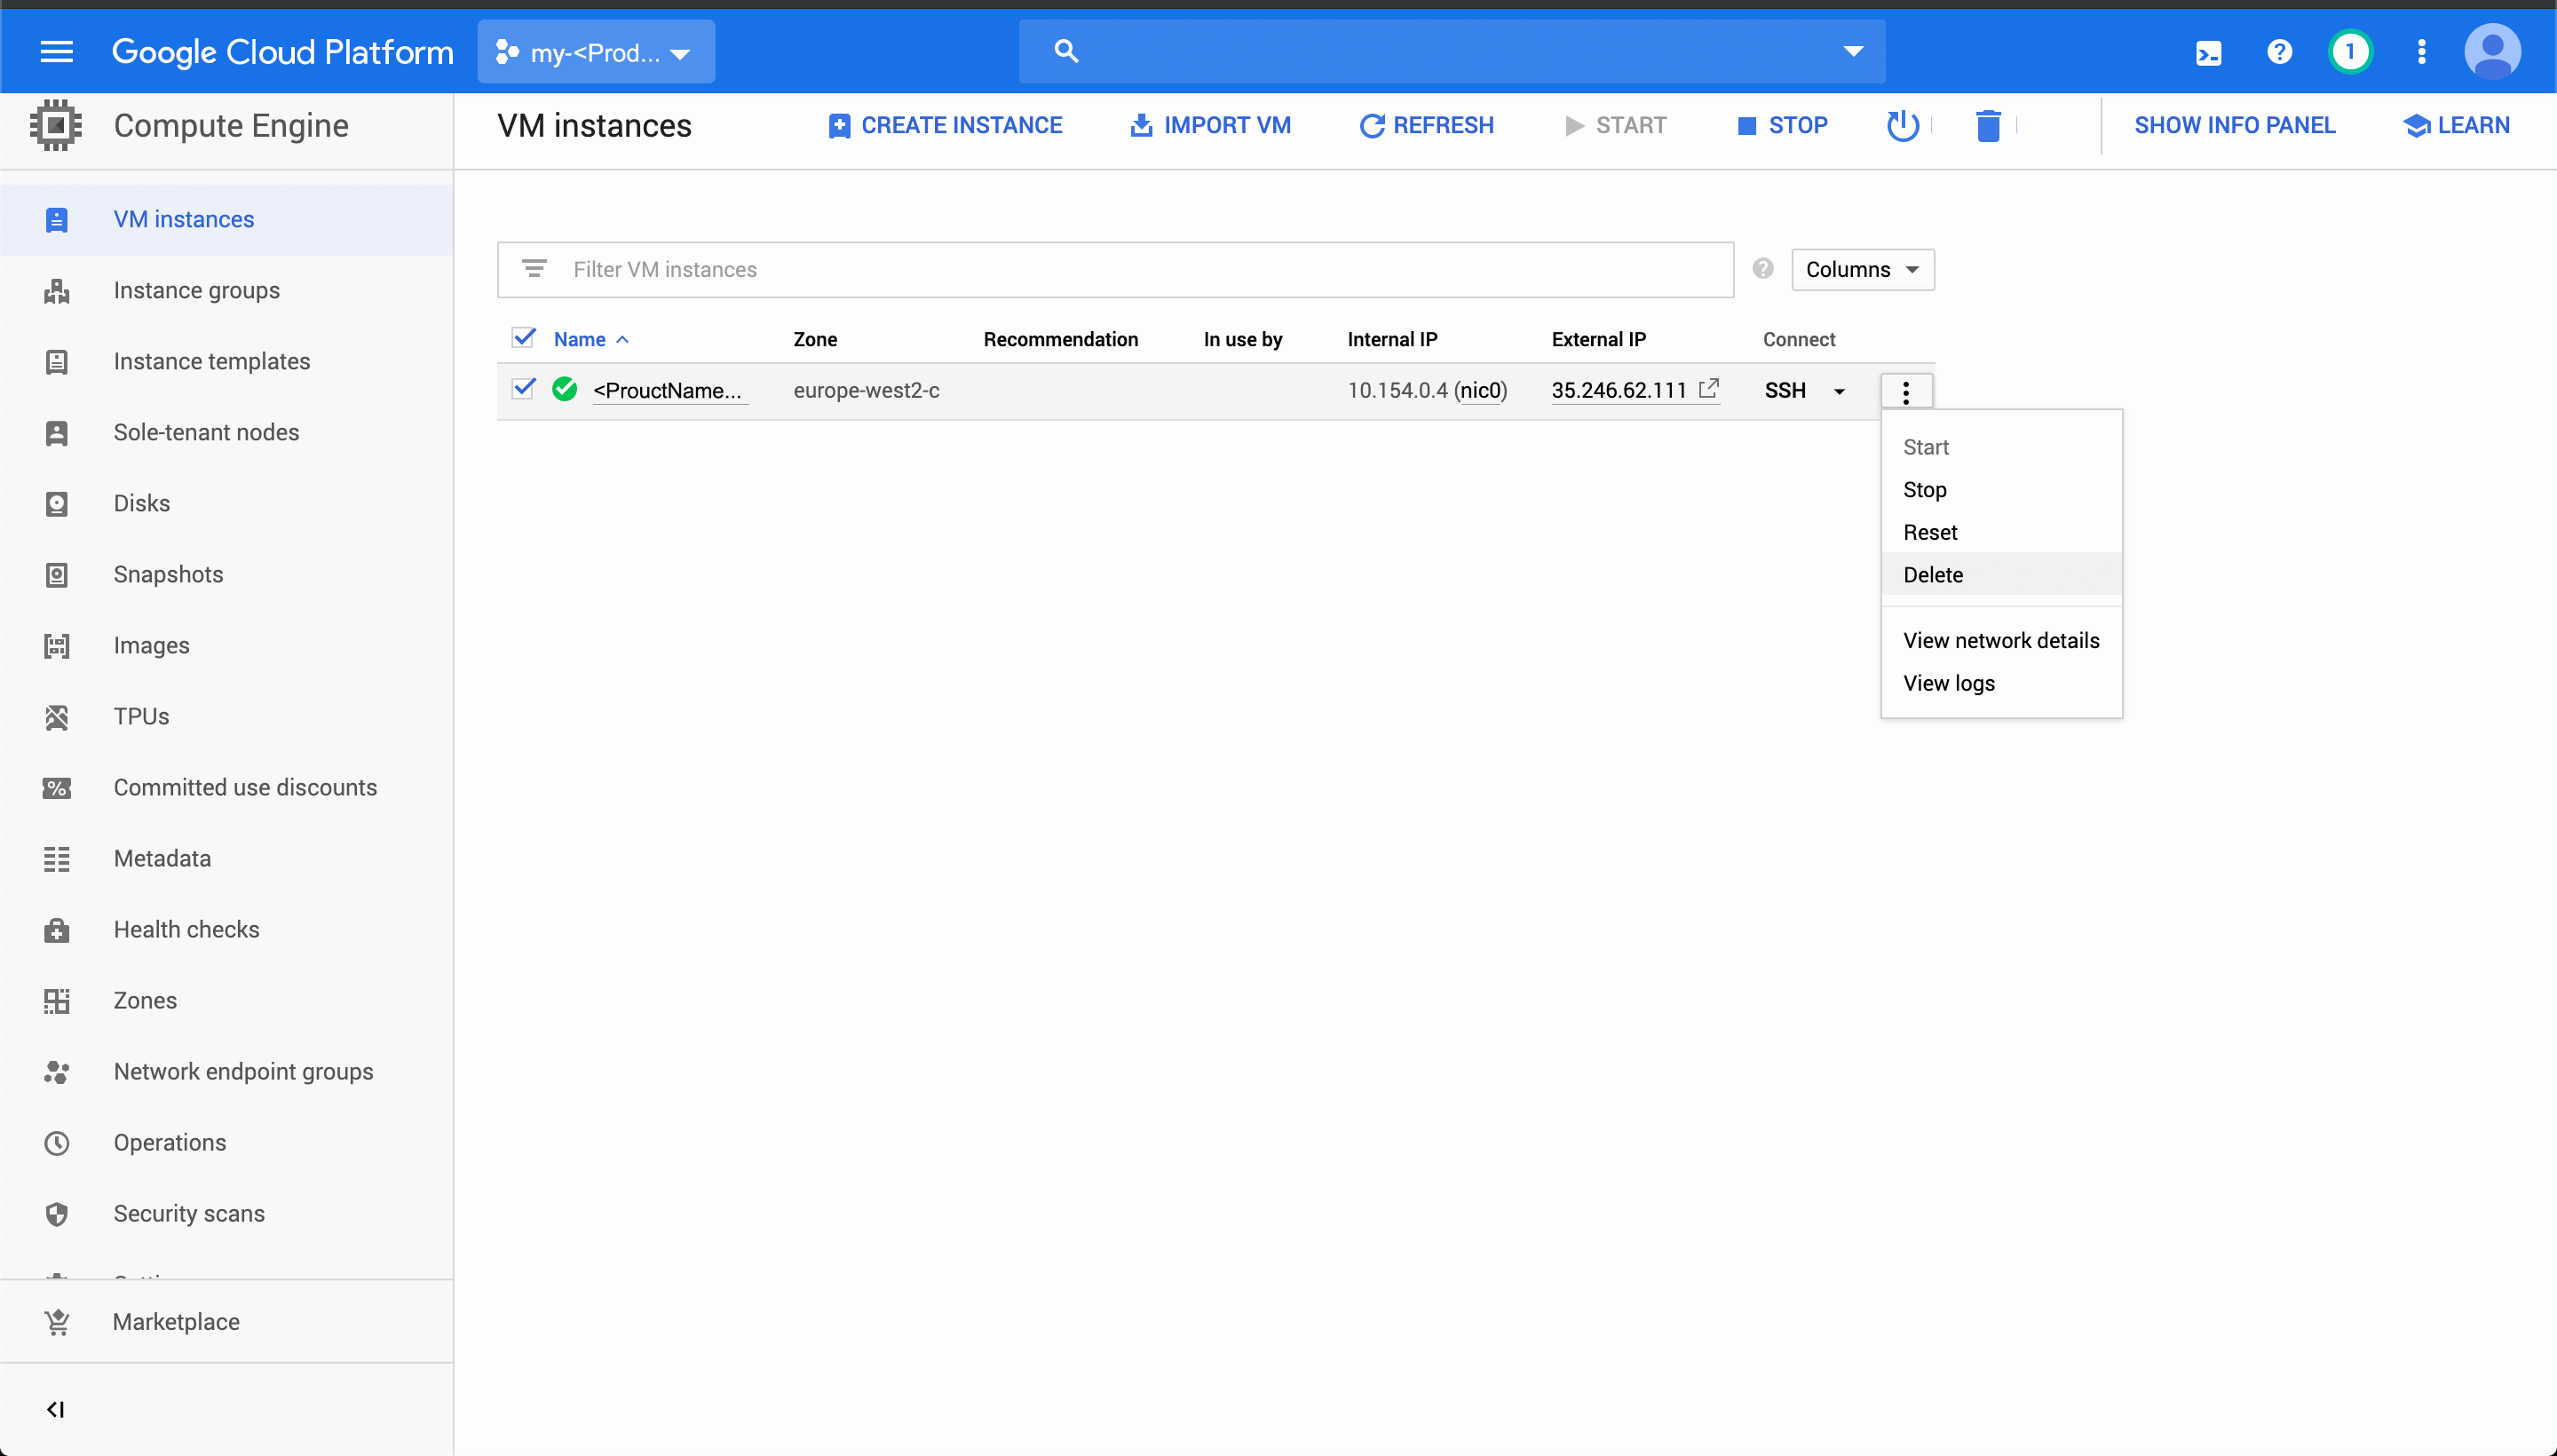
Once your instance is up and running, click the icon next to its ‘External IP’. You will be prompted for the web service username and password you supplied. If correct, you should be greeted by the FormVu welcome screen containing the text “FormVu Microservice Example”.
You can now make API calls to http://<your_external_ip>/formvu.
In order to add additional features such as authentication, multiple users, or access to the converted files without the API you can find further details on our docker image page.
Once you’ve finished using the instance and no longer need it, remember to delete it so it doesn’t run up your GCP bill:
Warning: if you used the instructions above to mount a directory as a shared volume, deleting the instance will also delete the mounted folder. Make sure you’ve downloaded any documents you wish to keep.
Running FormVu from different language clients
Now that you have the docker server running you can follow the tutorials for using the API to begin your conversions.