
Deploy BuildVu on Microsoft Azure Platform
Table of contents
- Download or Build the WAR file
- Set up Microsoft Azure
- Upload the BuildVu-Microservice WAR file
- Run the BuildVu Docker Image
- HTTPS encryption
- No longer need the Virtual machine?
- Running BuildVu from different language clients
Download or Build the WAR file
Before getting started you need the WAR file which you can either download or build yourself.
This WAR file is required for the BuildVu service to work.
Download the WAR file
Download the buildvu-microservice.war file.
Trial users can find the war download in the Docker section after trial signup.
Building the WAR file
Build a copy of our BuildVu Microservice Example project.
Instructions can be found on the GitHub page.
Set up Microsoft Azure
Log in to AZURE select the button in the top left-hand corner (resembles 3 stacked horizontal lines). This will display the following list.
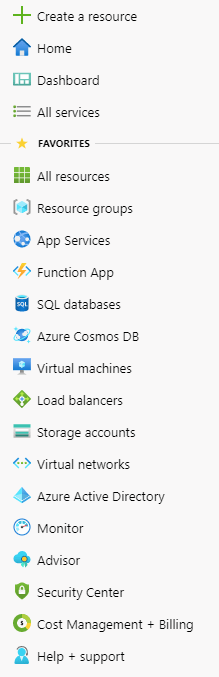
On this list, select “Virtual Machines” from the favorites section (present by default on new accounts), otherwise select “All Services”. This will show a list of all the services, select the “Compute” category on the left then the “Virtual Machines” option in the center of the page.

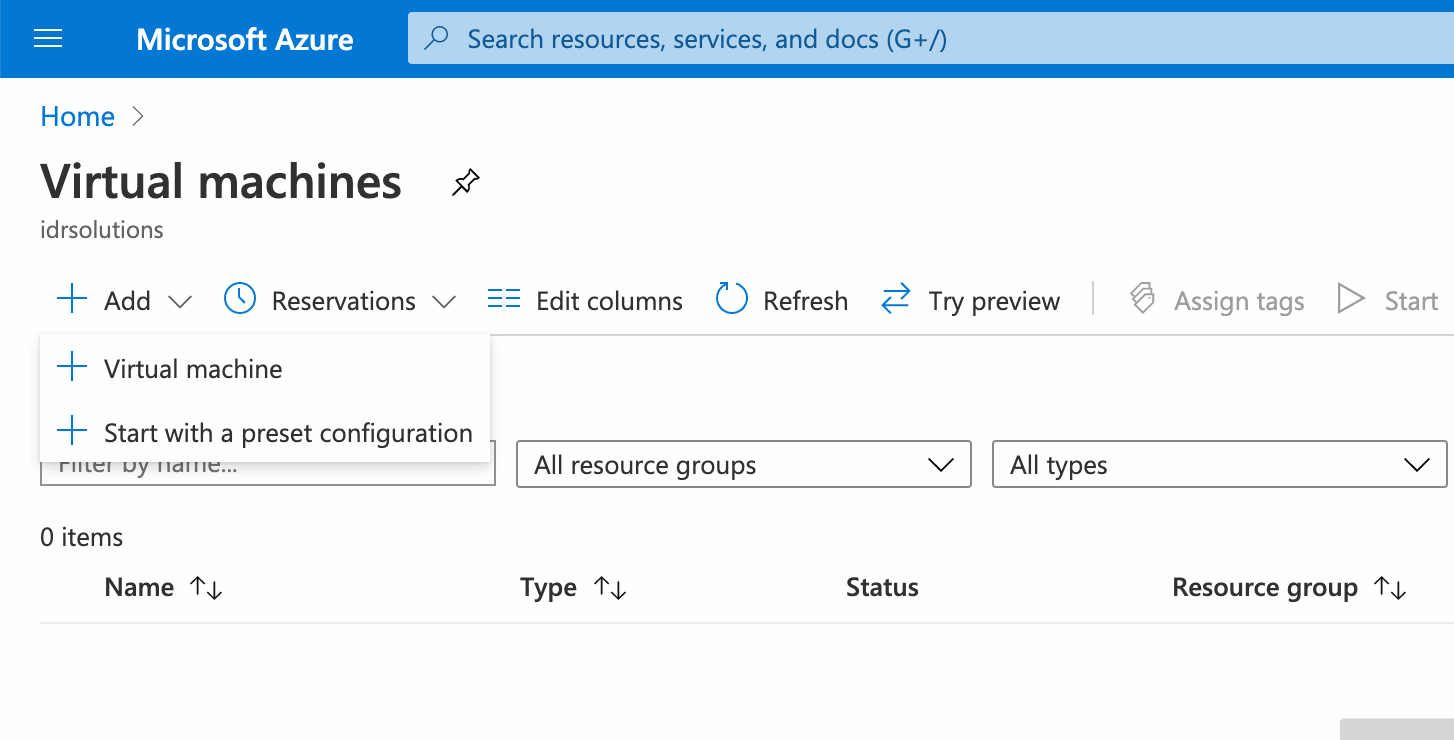
This new page allows you to create new virtual machines. Click the Add button that appears just below the page’s title followed by the “Virtual machine” option.
The following 7 pages will allow you configure the virtual machine. However, all the settings you need to set are on the Basics page but it is worth making yourself familiar with the other options available.
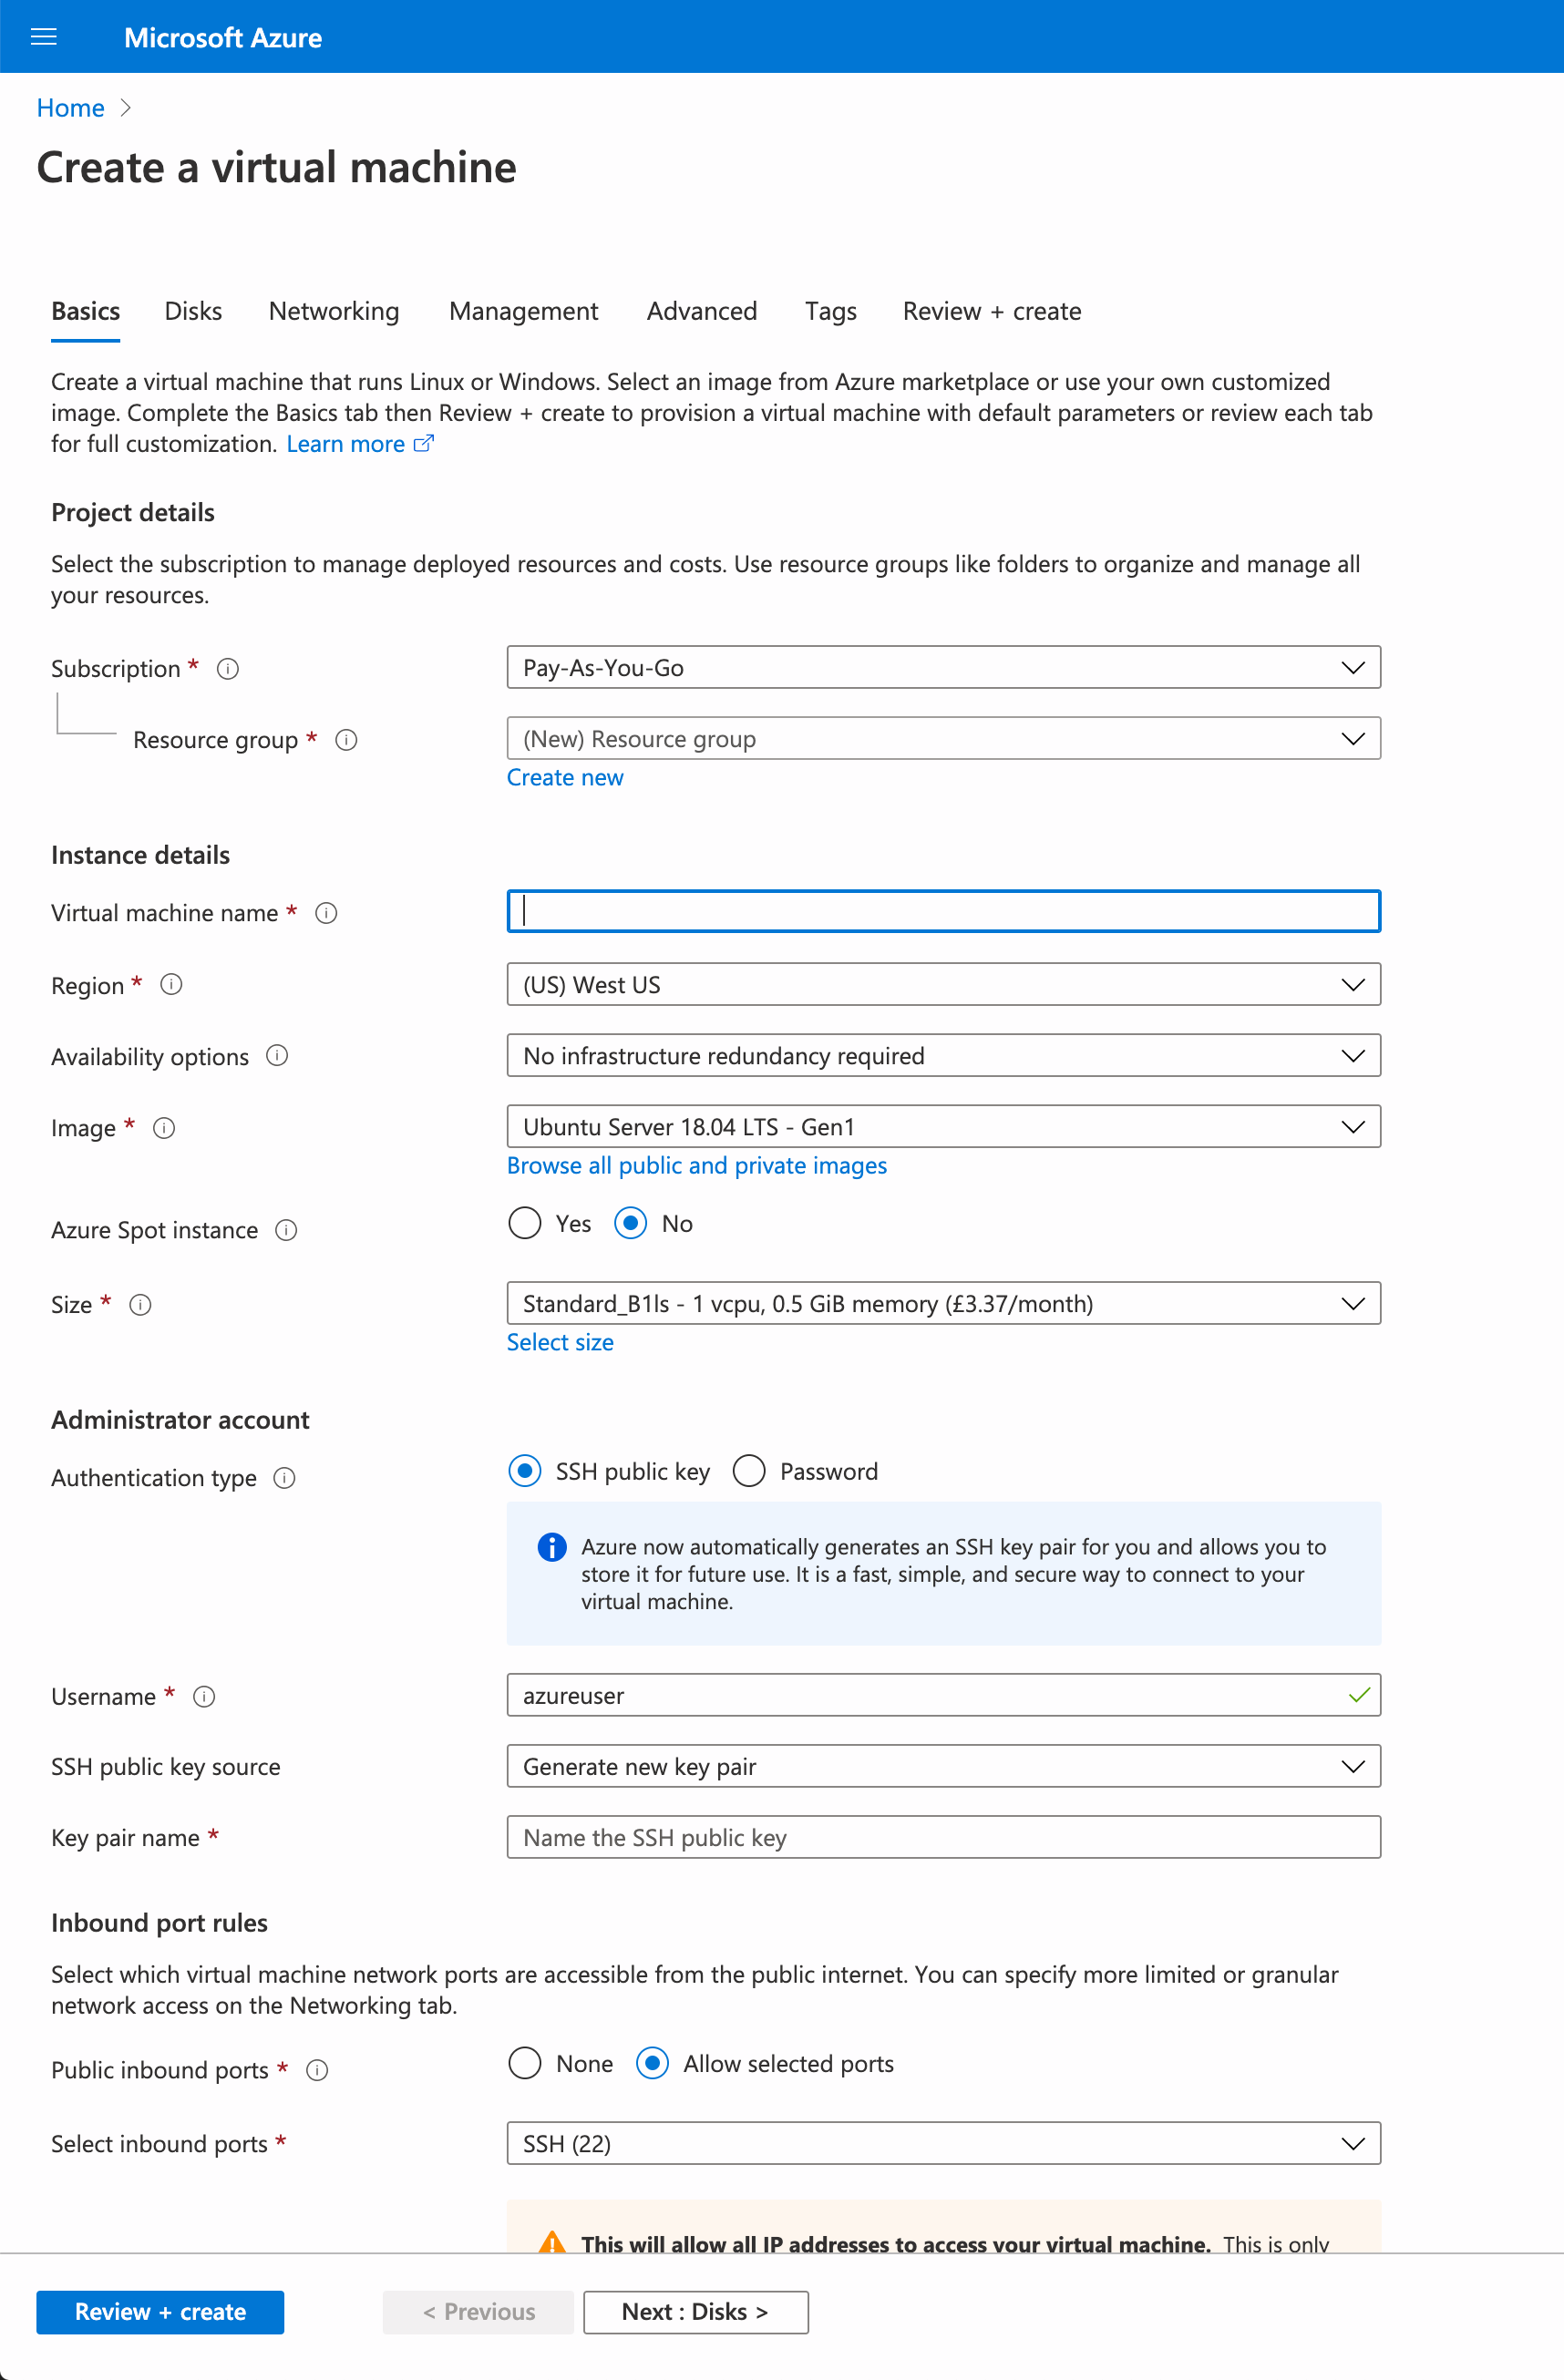
In order to use the BuildVu Docker container you need to set the following.
- Resource Group
If you don’t already have one, create a new one with the Create New button (this is handled in a popup and should only require a name). - Virtual machine name
This can be anything you wish and will help identify this machine if you have multiple. - Image
You need to specify an image that has Docker available (or else set up docker yourself). We suggest you click the “Browse all” link and select the most recent version of “Docker Advanced Engine on Ubuntu XX.XX LTS” - Size
You need to select the Virtual machine to use. We suggest using at least “Standard_B2ms” which can be found by clicking the “Select size” link. - Select inbound ports
Here you can specify 3 ports to allow access (SSH, HTTP, HTTPS). You will need at least SSH and HTTP set.
While not required, we recommend changing the username from the default value.
Once done, use the next button to get to the final page. This page will display the settings you have set up to be reviewed and will allow you to download the key file for SSH to the virtual machine. Download this file, then click the create button to create the virtual machine.
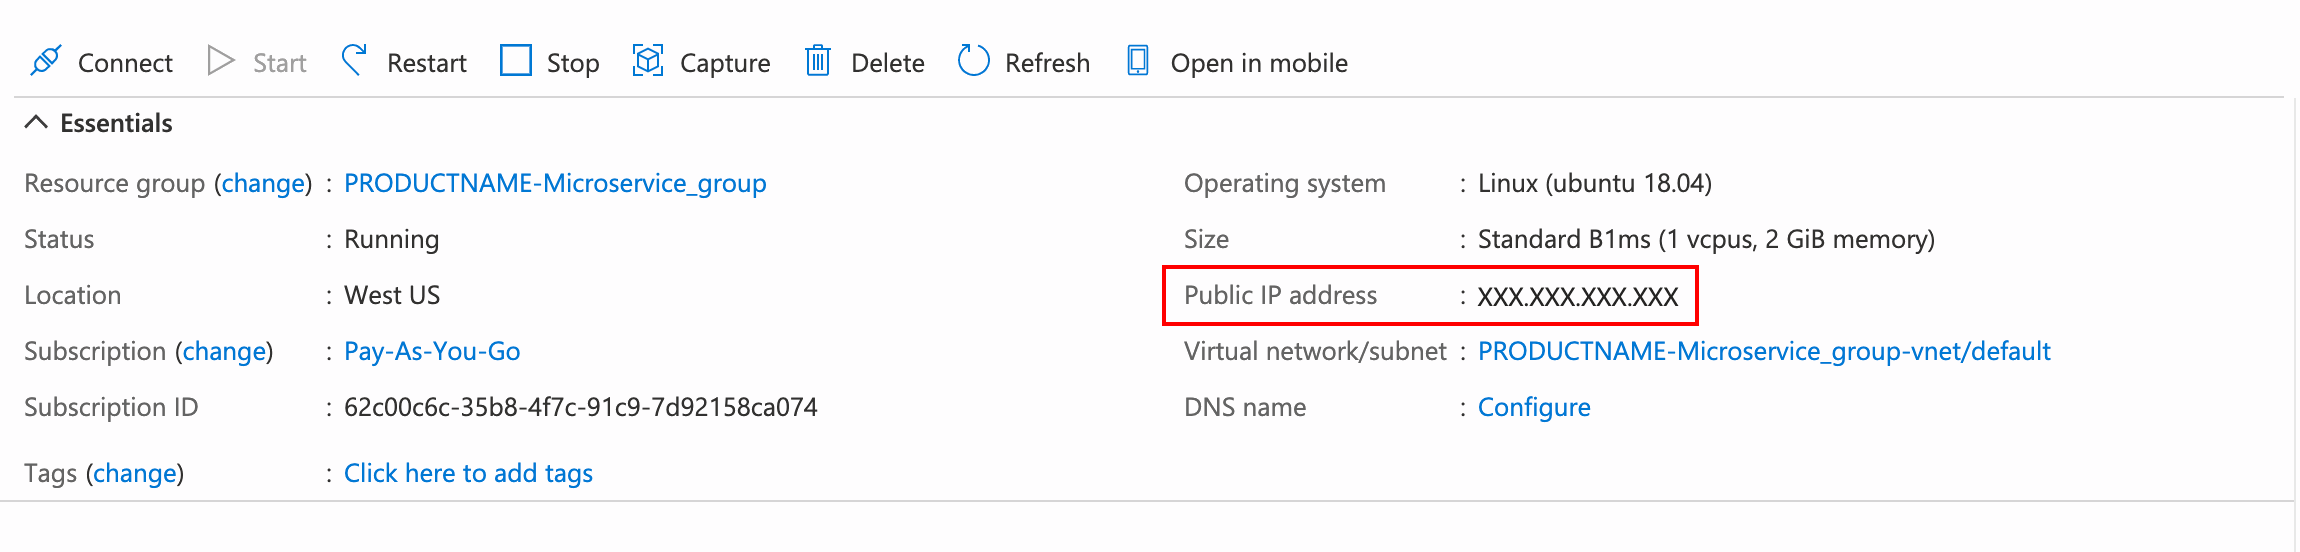
Once created (this may take a few minutes) navigate to the Virtual machines page and select the virtual machine you have created. On this page you can find its public IP address as shown below.
Upload the BuildVu-Microservice WAR file
In a terminal you will need to upload the WAR file using the command scp.
The command to do requires 3 values you entered / created previously.
- The filename/path for the KEY FILE you downloaded.
- The USERNAME on the virtual machine (default value is azureuser).
- The ADDRESS of the virtual machine.
It will look like:
scp -i <KEY FILE> <path/to/buildvu-microservice.war> <USERNAME>@<ADDRESS>:~/buildvu-microservice.war
Now the war file is available we can start the docker image.
Run the BuildVu Docker Image
In order to start the microservice you will need to SSH into your virtual machine. Azure makes this simple by providing instructions on the virtual machines page.
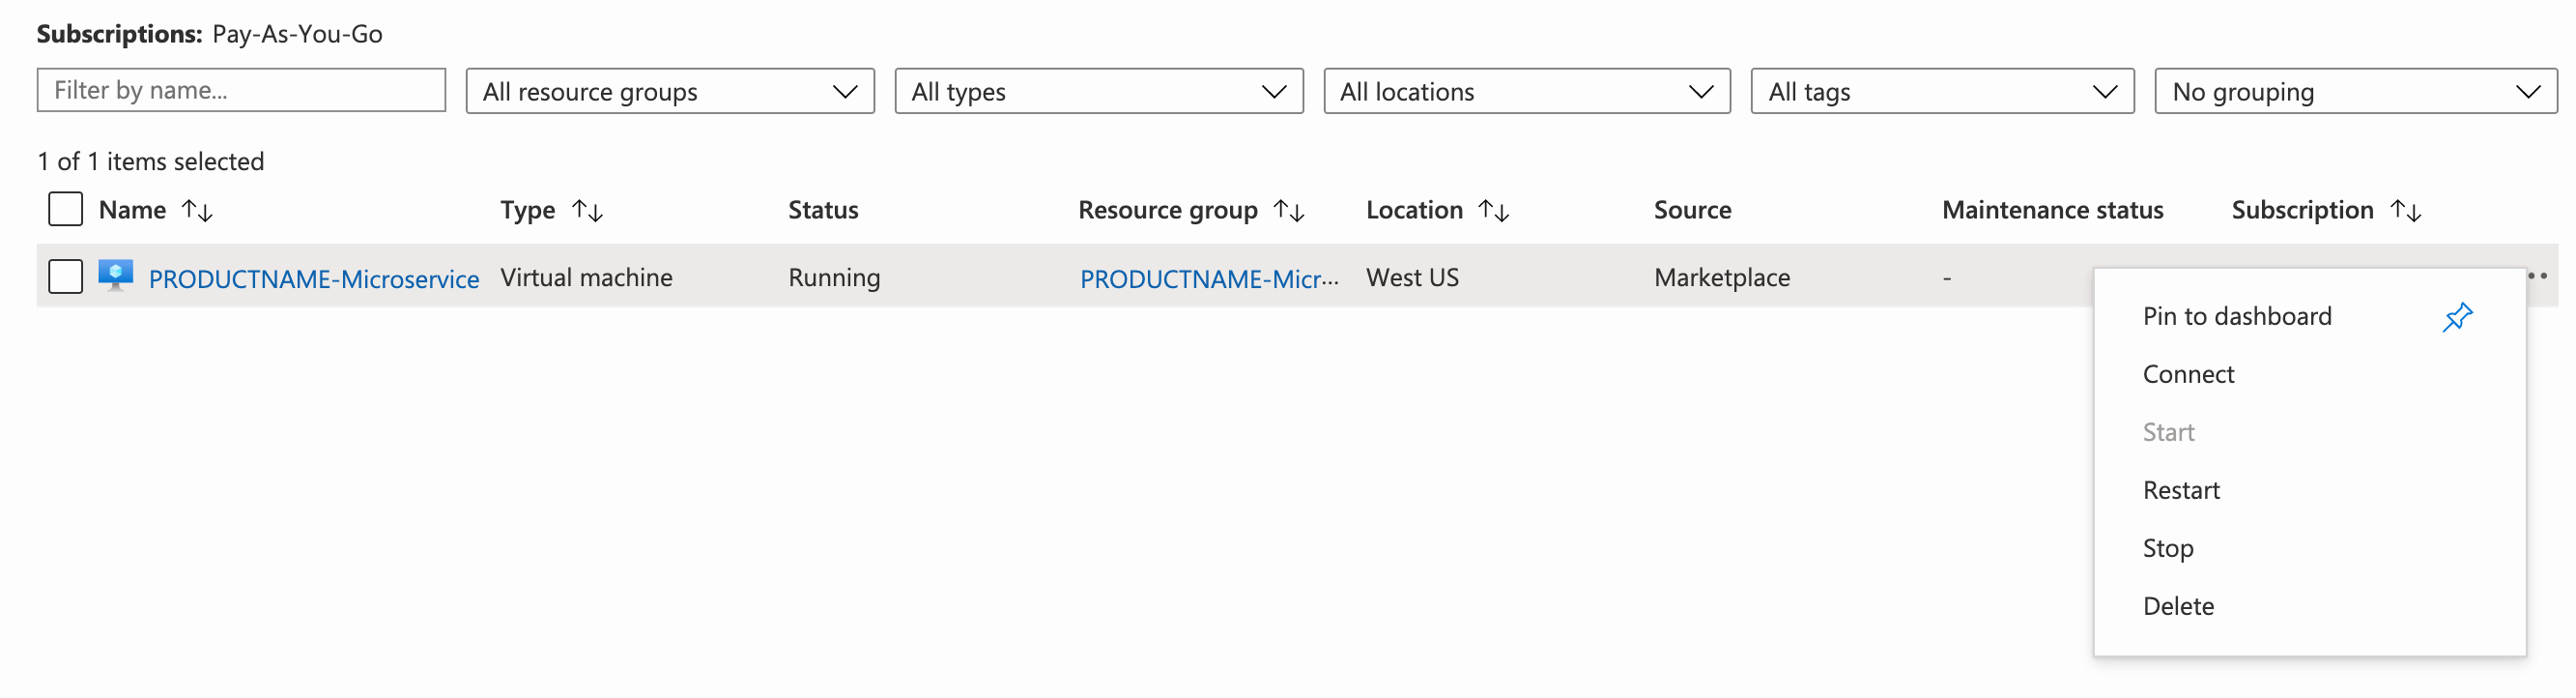
Navigate to the virtual machines page, click the ‘…’ button on the far right, and click on the connect option. Follow the instructions on this new page to connect to your virtual machine via SSH.
Once connected, start your container with the following command. You will need the username you used in the Upload step (default value is azureuser).
docker run -p 80:80 --mount "source=/home/<USERNAME>/buildvu-microservice.war,target=/usr/local/tomcat/webapps/ROOT.war,type=bind" idrsolutions/buildvu
Note you may need to be a super user for this command to work
HTTPS encryption
To enable HTTPS, you need to open up the HTTPS port in the firewall, then you need a valid SSL certificate and key mounted at /opt/ssl in the virtual machine. If you already have the virtual machine set up, add this rule as follows.
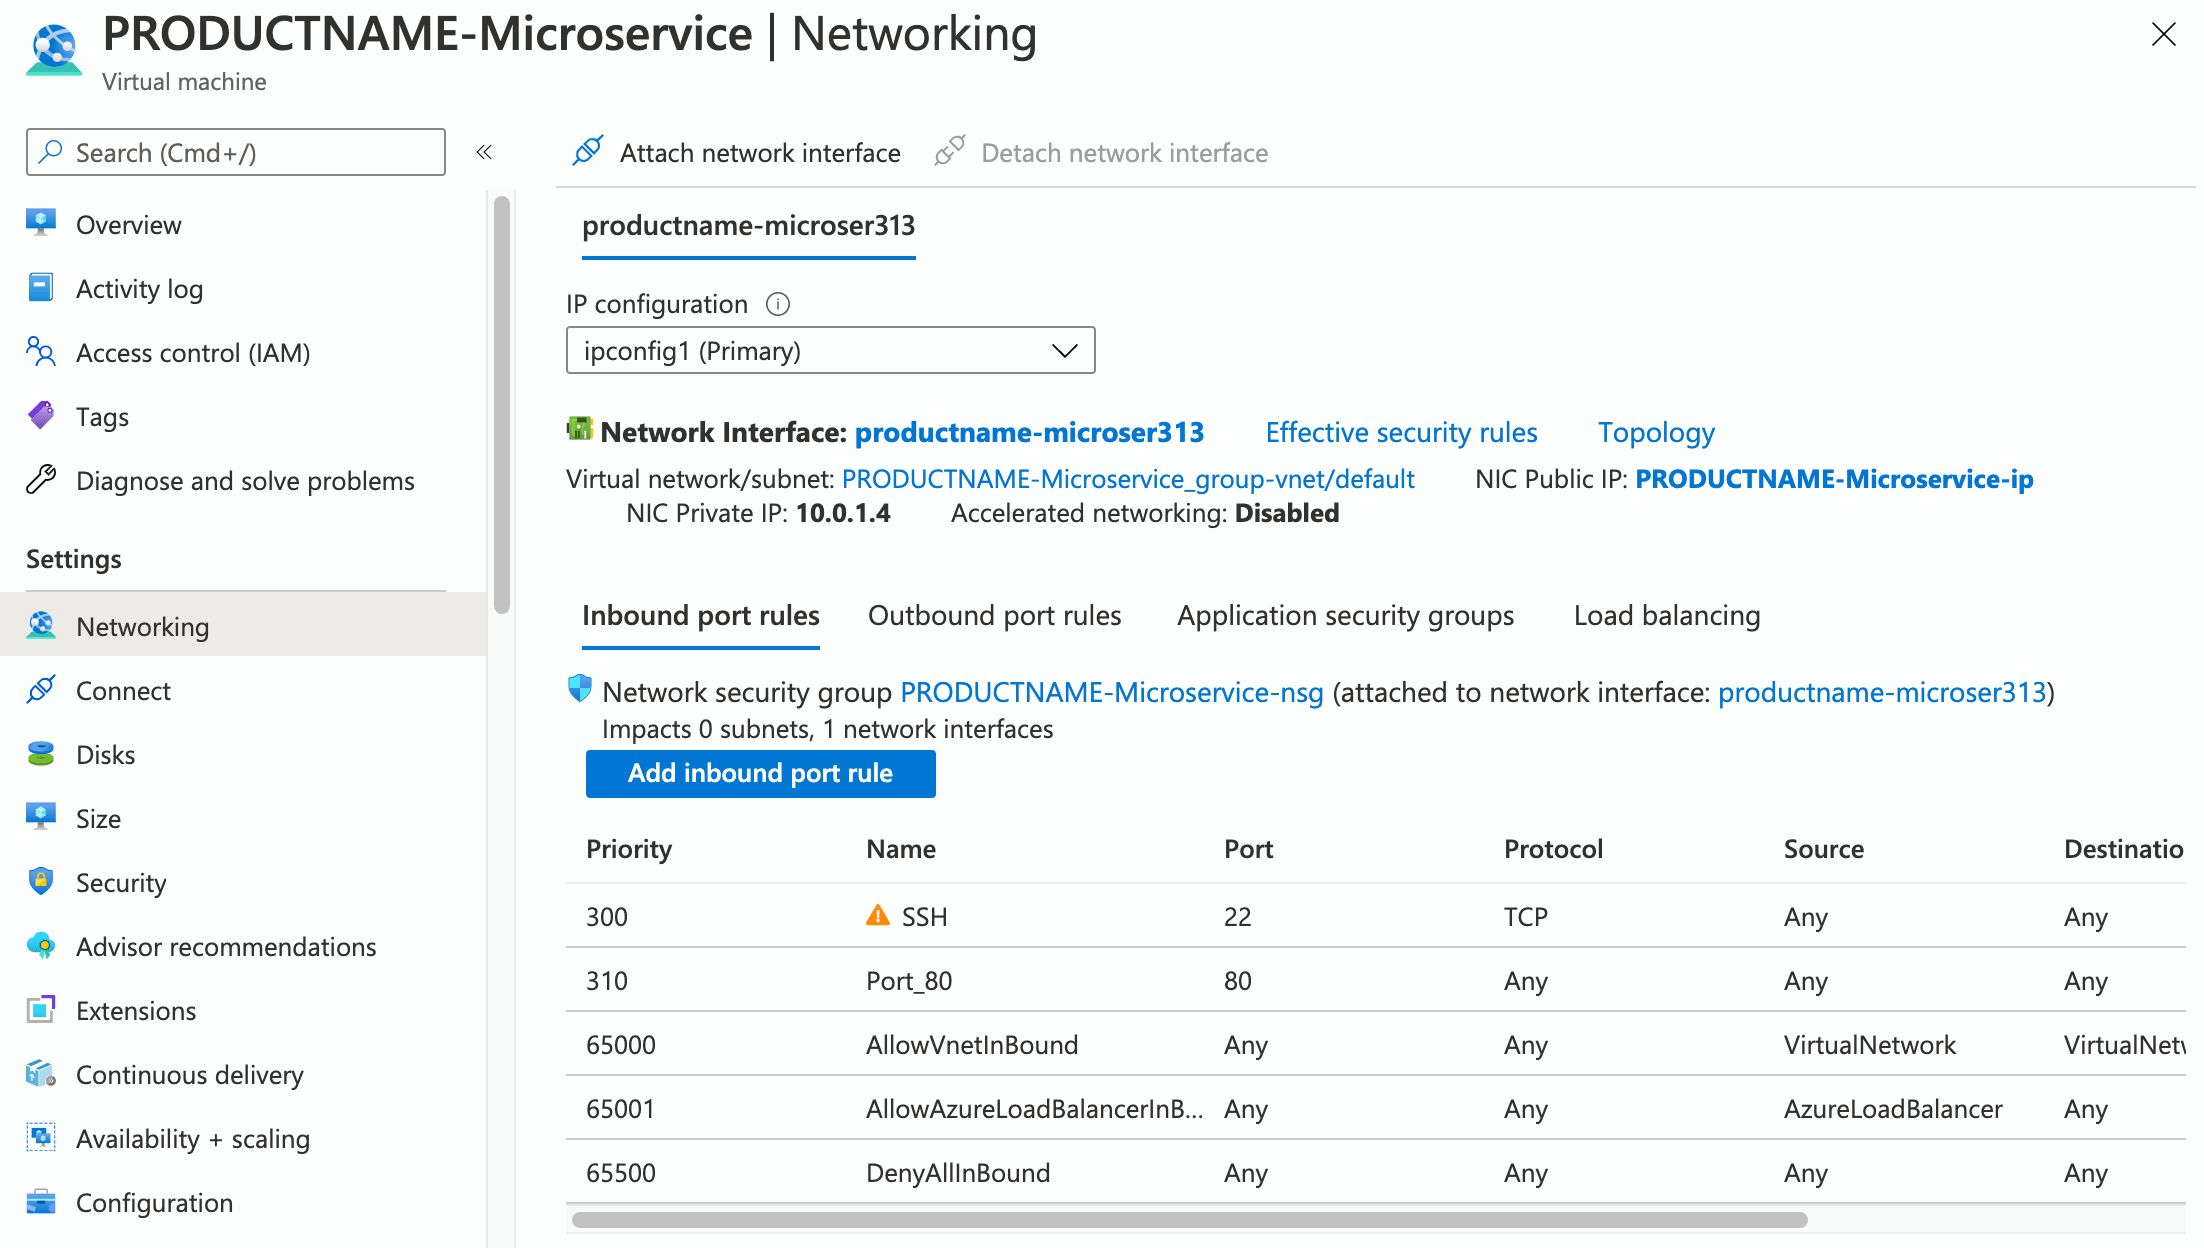
Go to the Virtual machine page and select the networking settings page. On this page click the “Add inbound port rule” button.
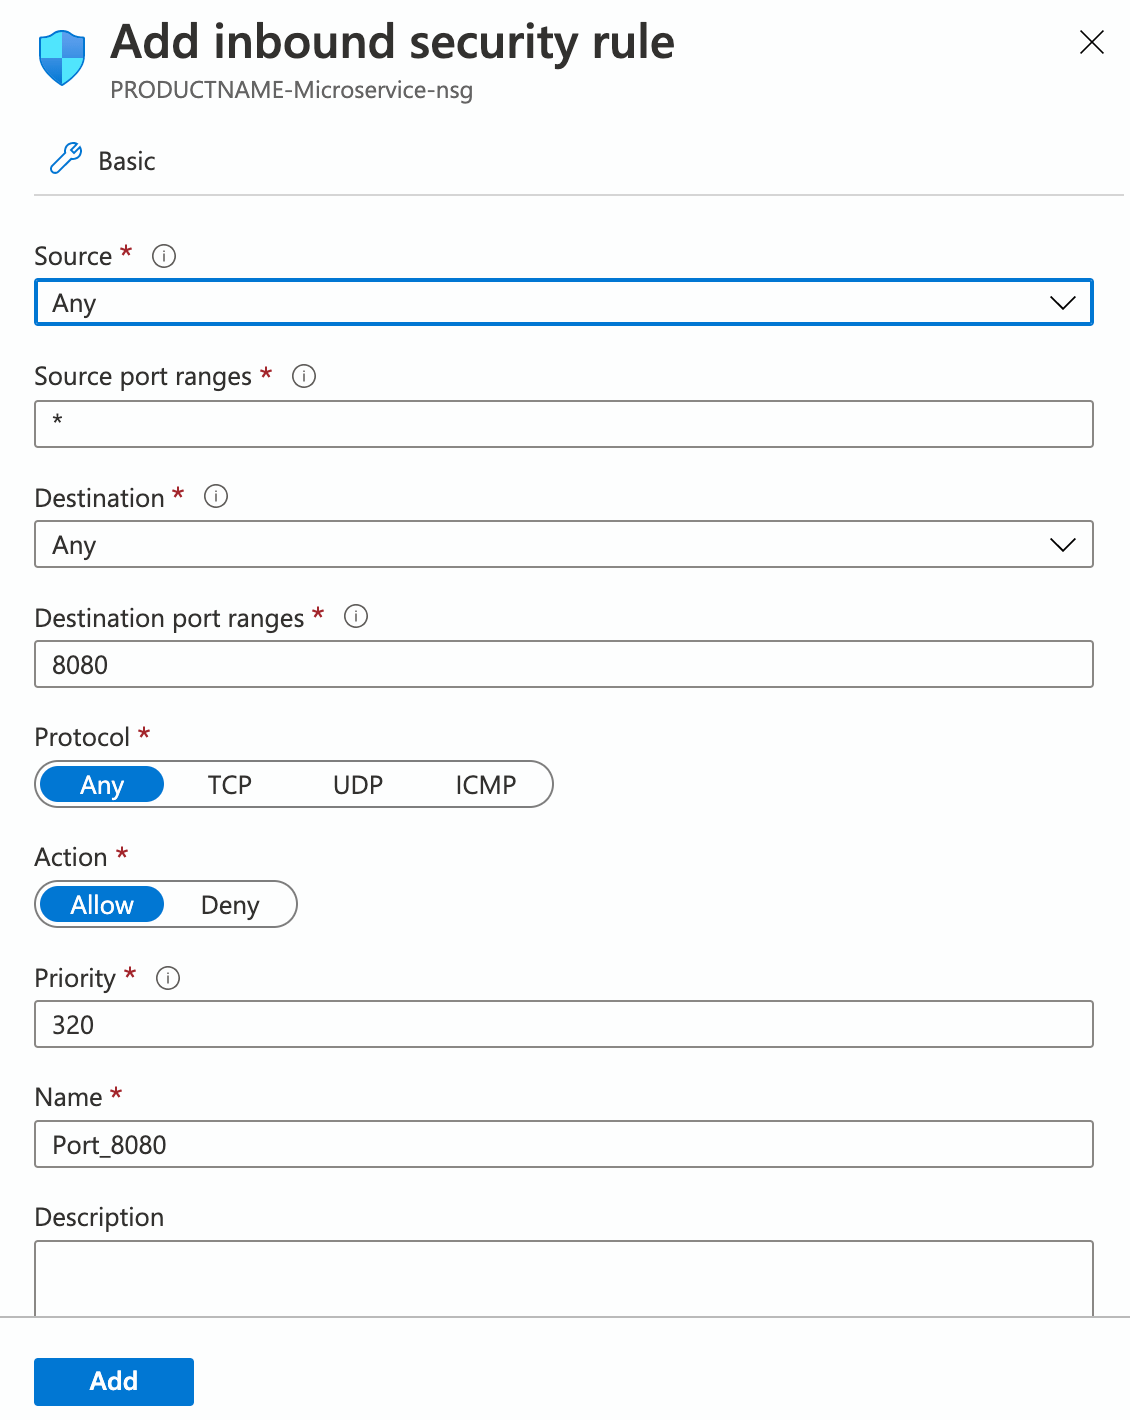
In the new frame, specify the ports you want to allow access to the virtual machine. For HTTPS you need to set the “Destination port ranges” to 443, all other values may stay as the defaults shown.
Next use your terminal to upload the required SSL certificates. First, connect to the virtual machine (as detailed in the “Run the BuildVu Docker Image” section). Once connected create the directory /opt/ssl
mkdir /opt/ssl
Next upload the SSL certificates to this directory.
The command to do this will require 3 values you entered / created previously.
- The filename/path for the KEY FILE you downloaded.
- The USERNAME on the virtual machine (default value is azureuser).
- The ADDRESS of the virtual machine.
It will look like:
scp -i <KEY FILE> <path/to/certificate.crt> <USERNAME>@<ADDRESS>:/opt/ssl/certificate.crt
scp -i <KEY FILE> <path/to/private.key> <USERNAME>@<ADDRESS>:/opt/ssl/private.key
scp -i <KEY FILE> <path/to/ca_bundle.crt> <USERNAME>@<ADDRESS>:/opt/ssl/ca_bundle.crt
Now the virtual machine will allow HTTPS connections through you need to start docker with the port specified.
docker run -p 80:80 -p 443:443 --mount "source=/local/path/to/ssl/directory,target=/opt/ssl,type=bind,readonly" --mount "source=/home/<USERNAME>/buildvu-microservice.war,target=/usr/local/tomcat/webapps/ROOT.war,type=bind" idrsolutions/buildvu
In order to add additional features such as authentication, multiple users, or access to the converted files without the API you can find further details on our docker image page.
No longer need the Virtual machine?
If you are trialling BuildVu or maybe you just don’t need your virtual machine for a while, you may wish to prevent it from being used or remove it altogether. This is simple to do. If you navigate to your virtual machine page you will find the following options on the overview page.
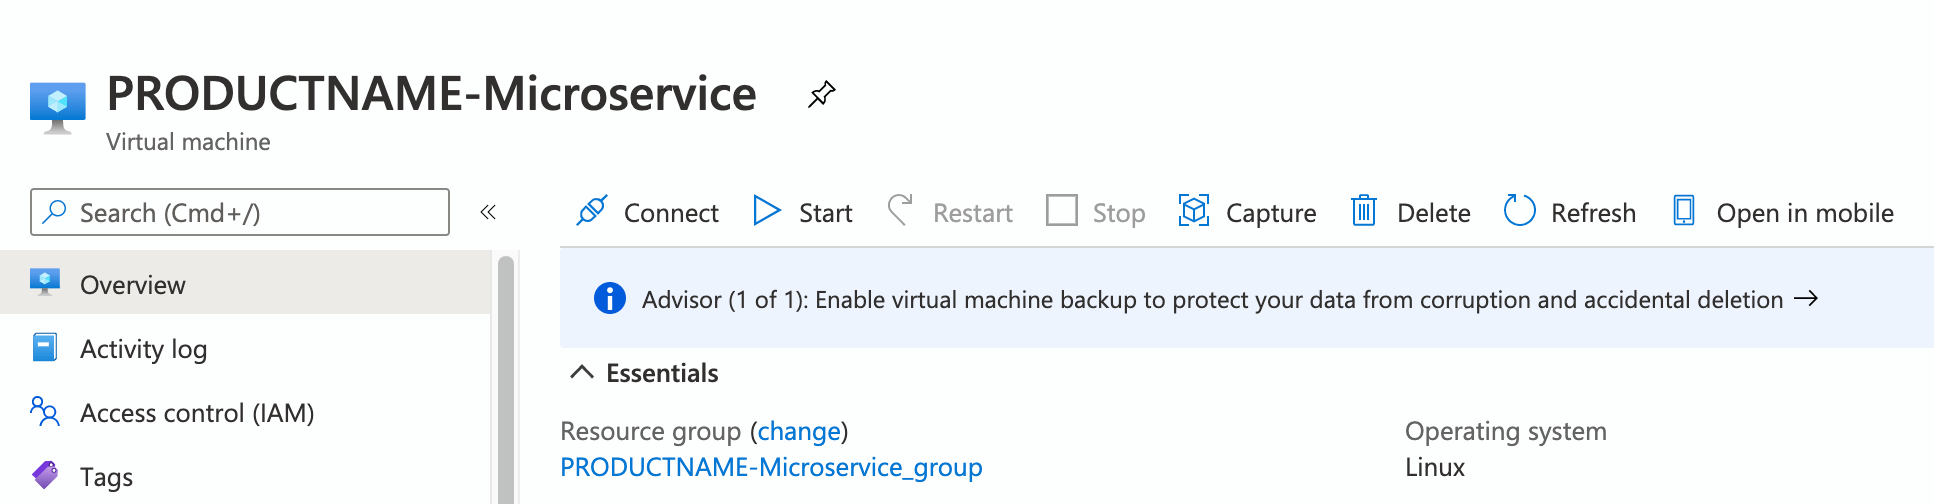
You can stop the virtual machine which will take down the service without deleting it.
If you will not need the virtual machine again you can also delete it which will stop it and remove it from the platform.
Running BuildVu from different language clients
Now that you have the docker server running you can follow the tutorials for using the API to begin your conversions.