
Deploy JPedal on DigitalOcean
Table of contents
- Download or Build the WAR file
- Provisioning a droplet
- Transfer the war file to your droplet
- Run the JPedal droplet
- Enabling HTTPS
- Enabling Daemon mode
- Running JPedal from different language clients
Running JPedal on DigitalOcean is just a matter of spinning up a droplet with Docker installed, exposing some firewall ports and running the image.
Download or Build the WAR file
Before getting started you need the WAR file which you can either download or build yourself.
This WAR file is required for the JPedal service to work.
Download the WAR file
Download the jpedal-microservice.war file.
Trial users can find the war download in the Docker section after trial signup.
Building the WAR file
Build a copy of our JPedal Microservice Example project.
Instructions can be found on the GitHub page.
Provisioning a droplet
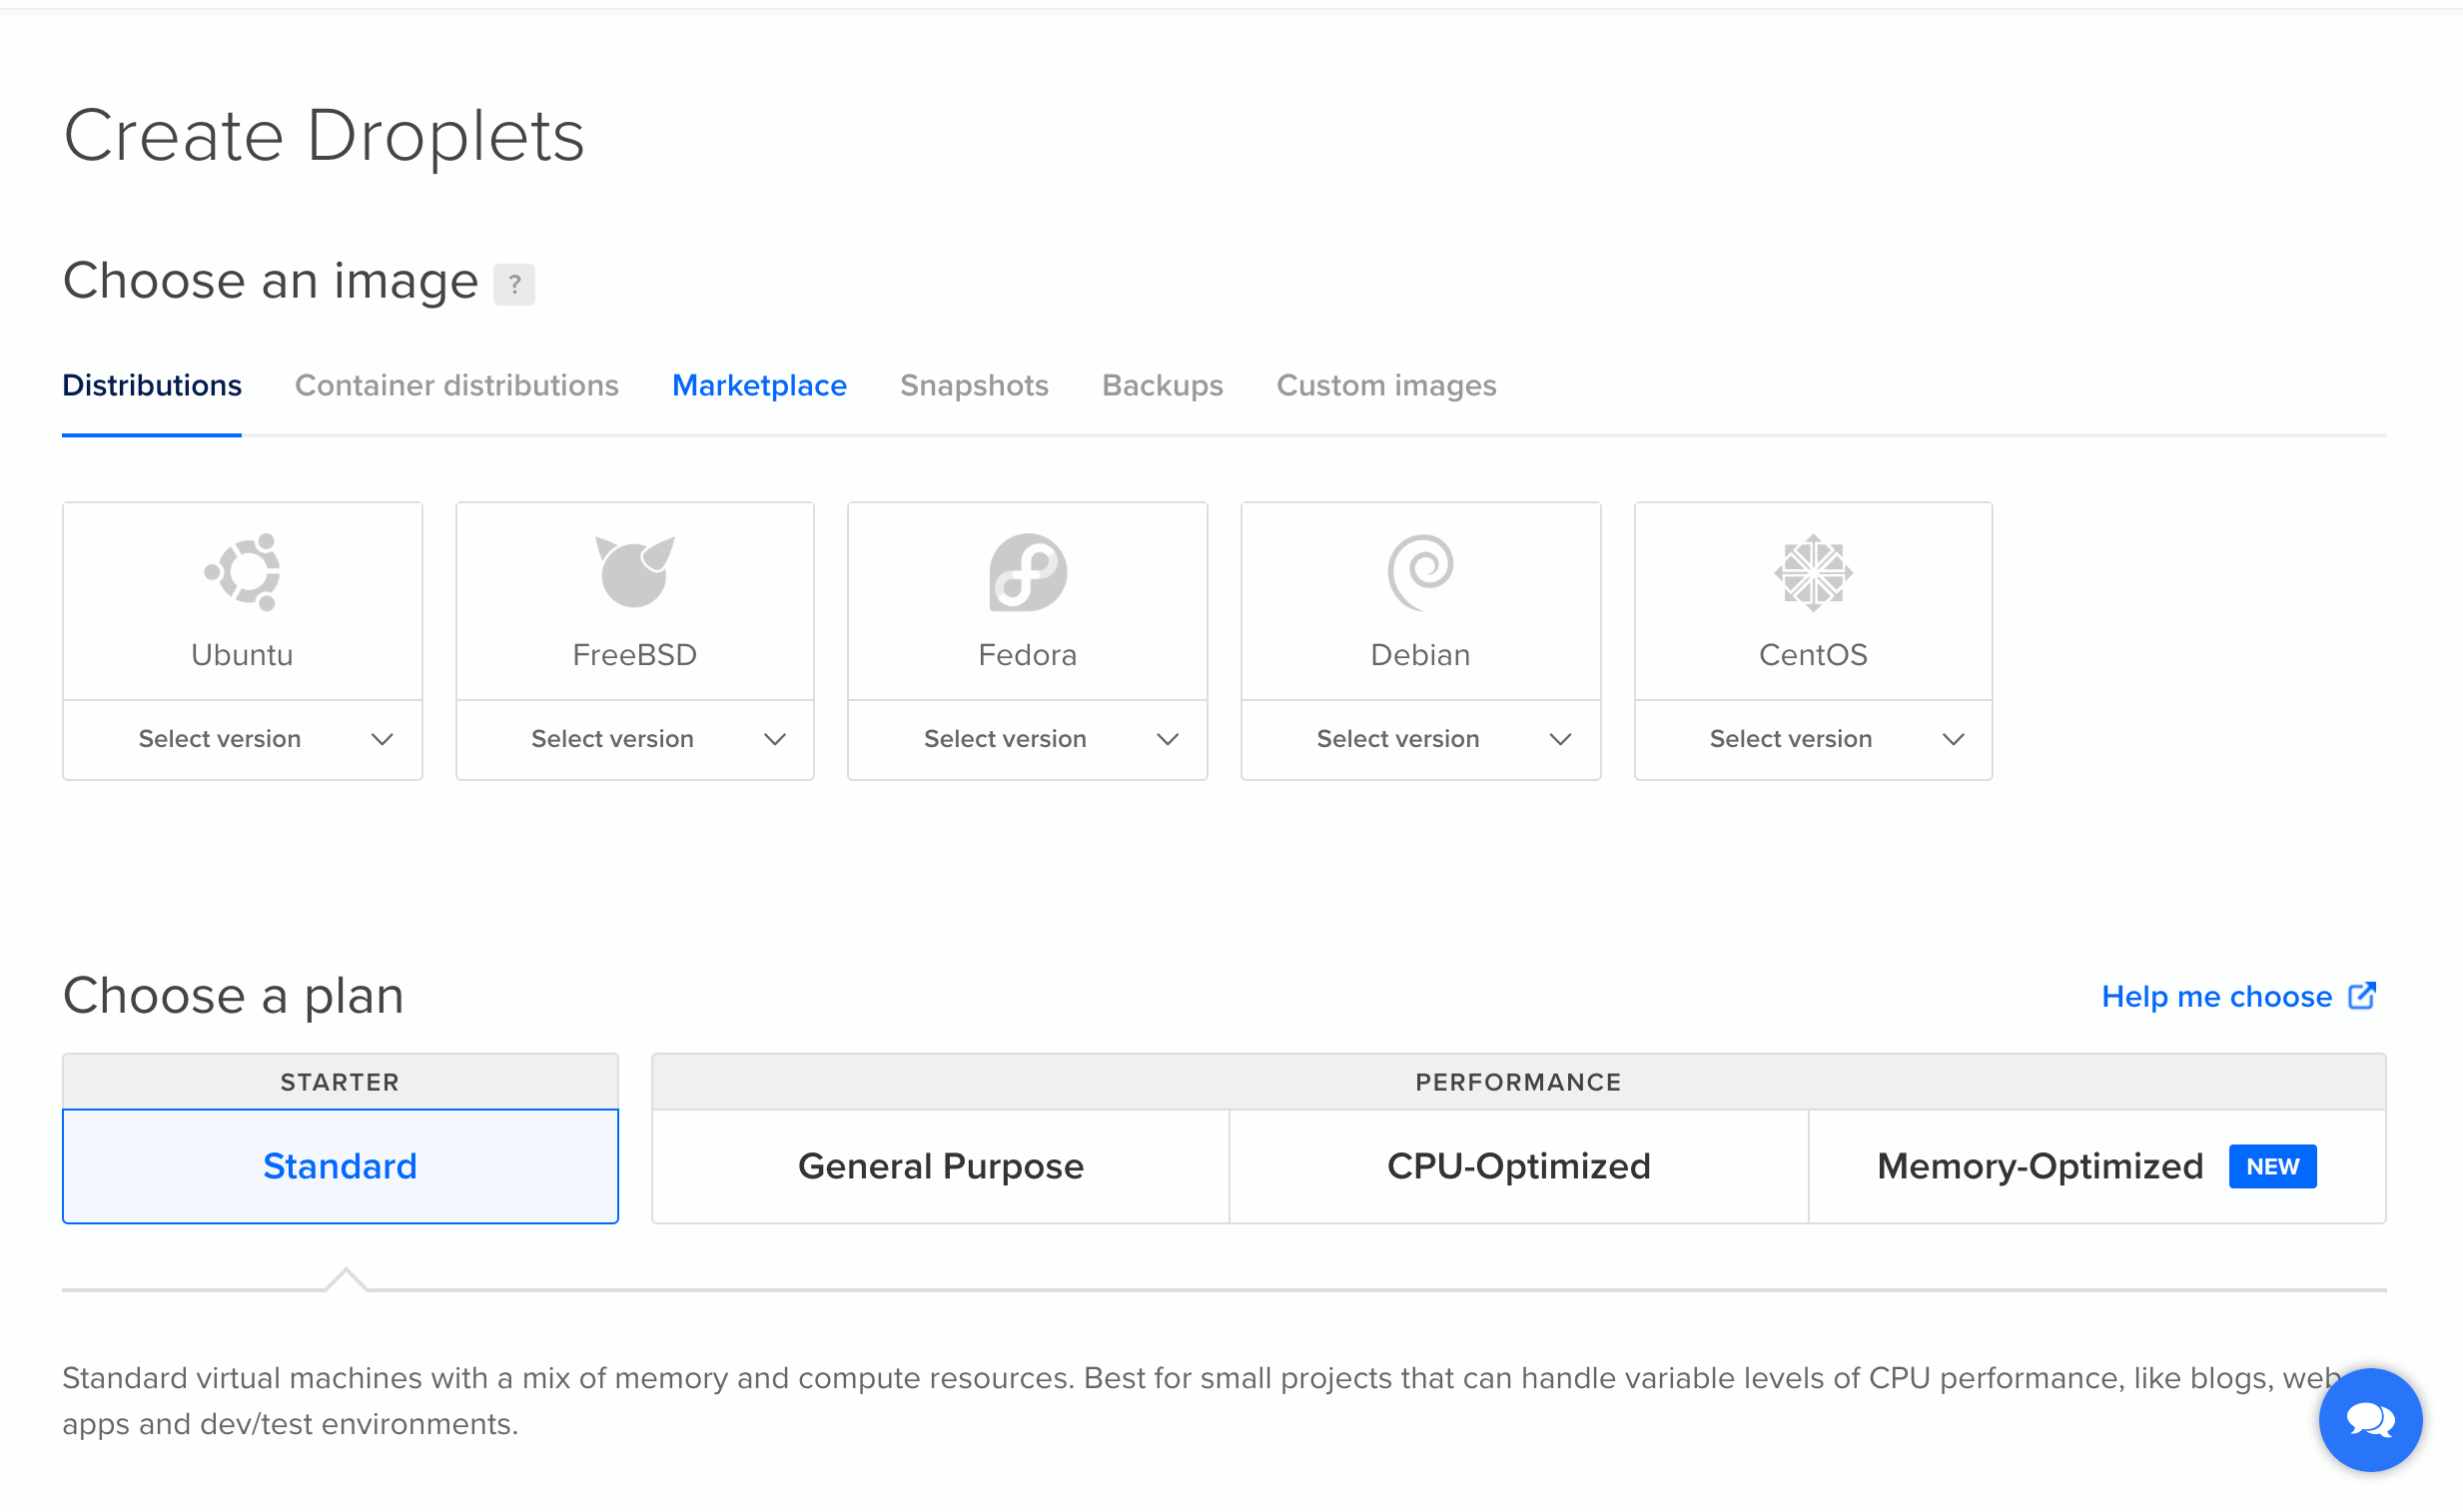
Log in to DigitalOcean, then click on ‘Create’ and ‘Droplets’:
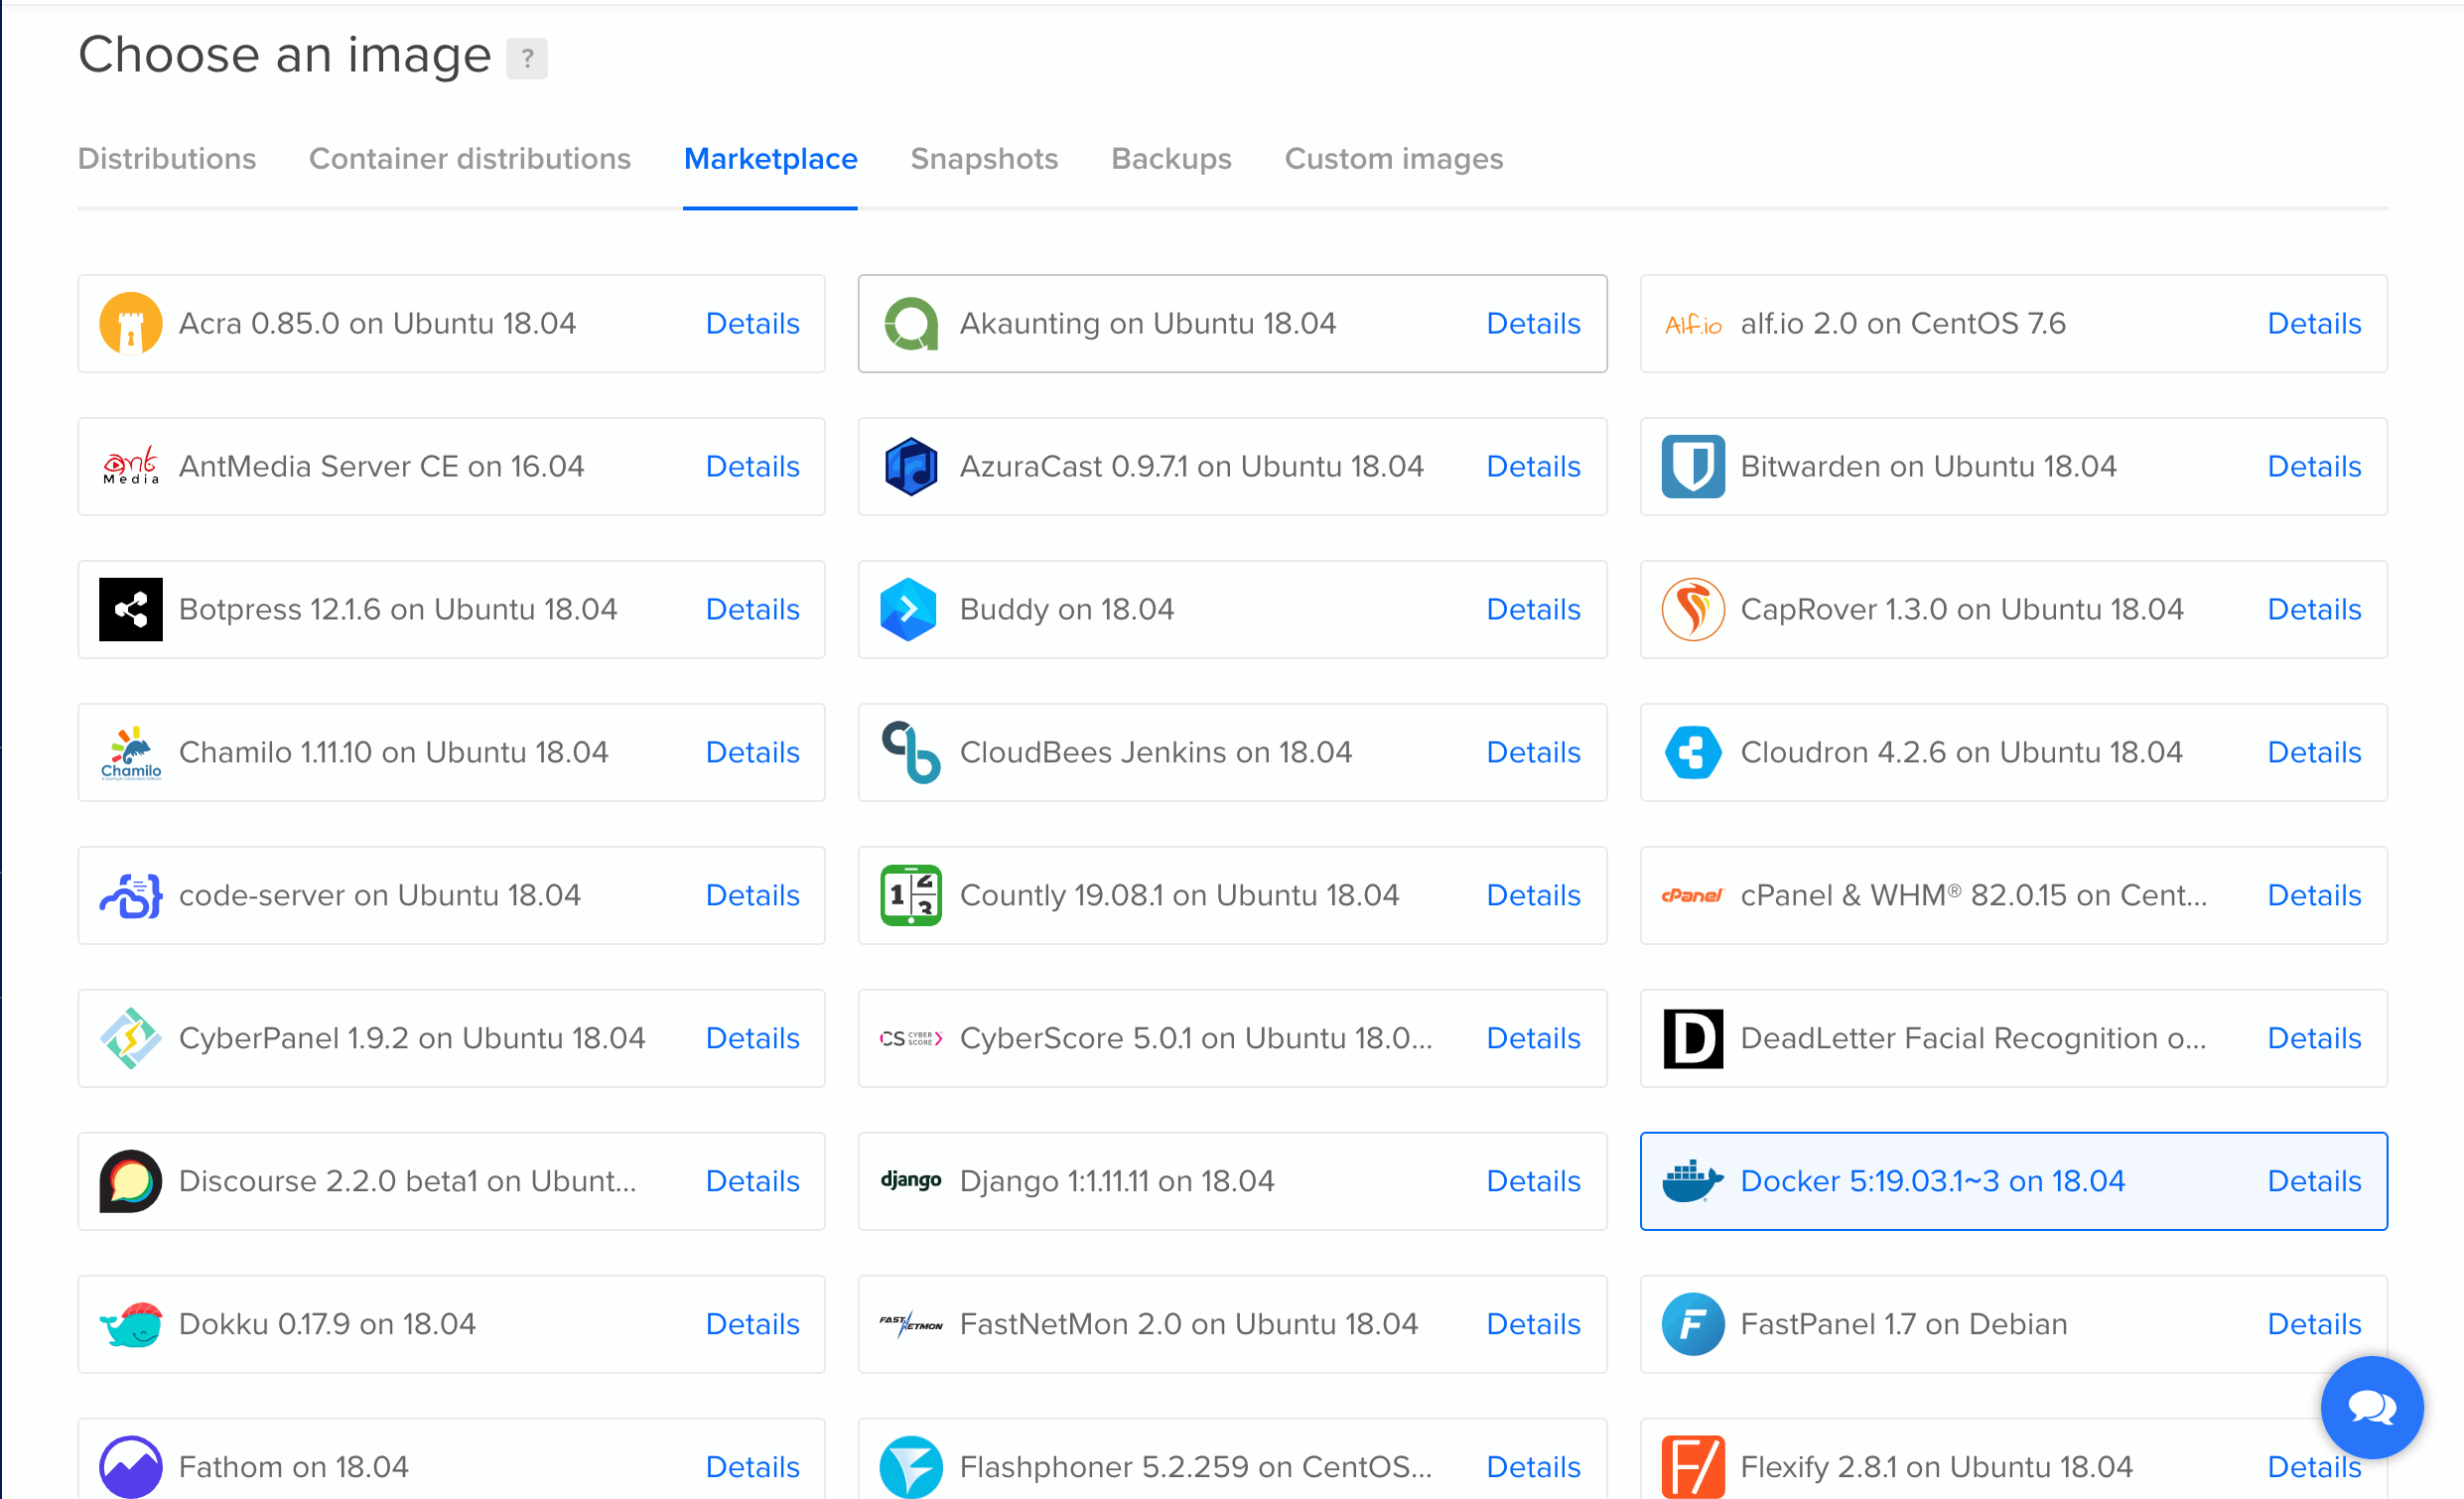
Click on ‘Marketplace’ and select the ‘Docker
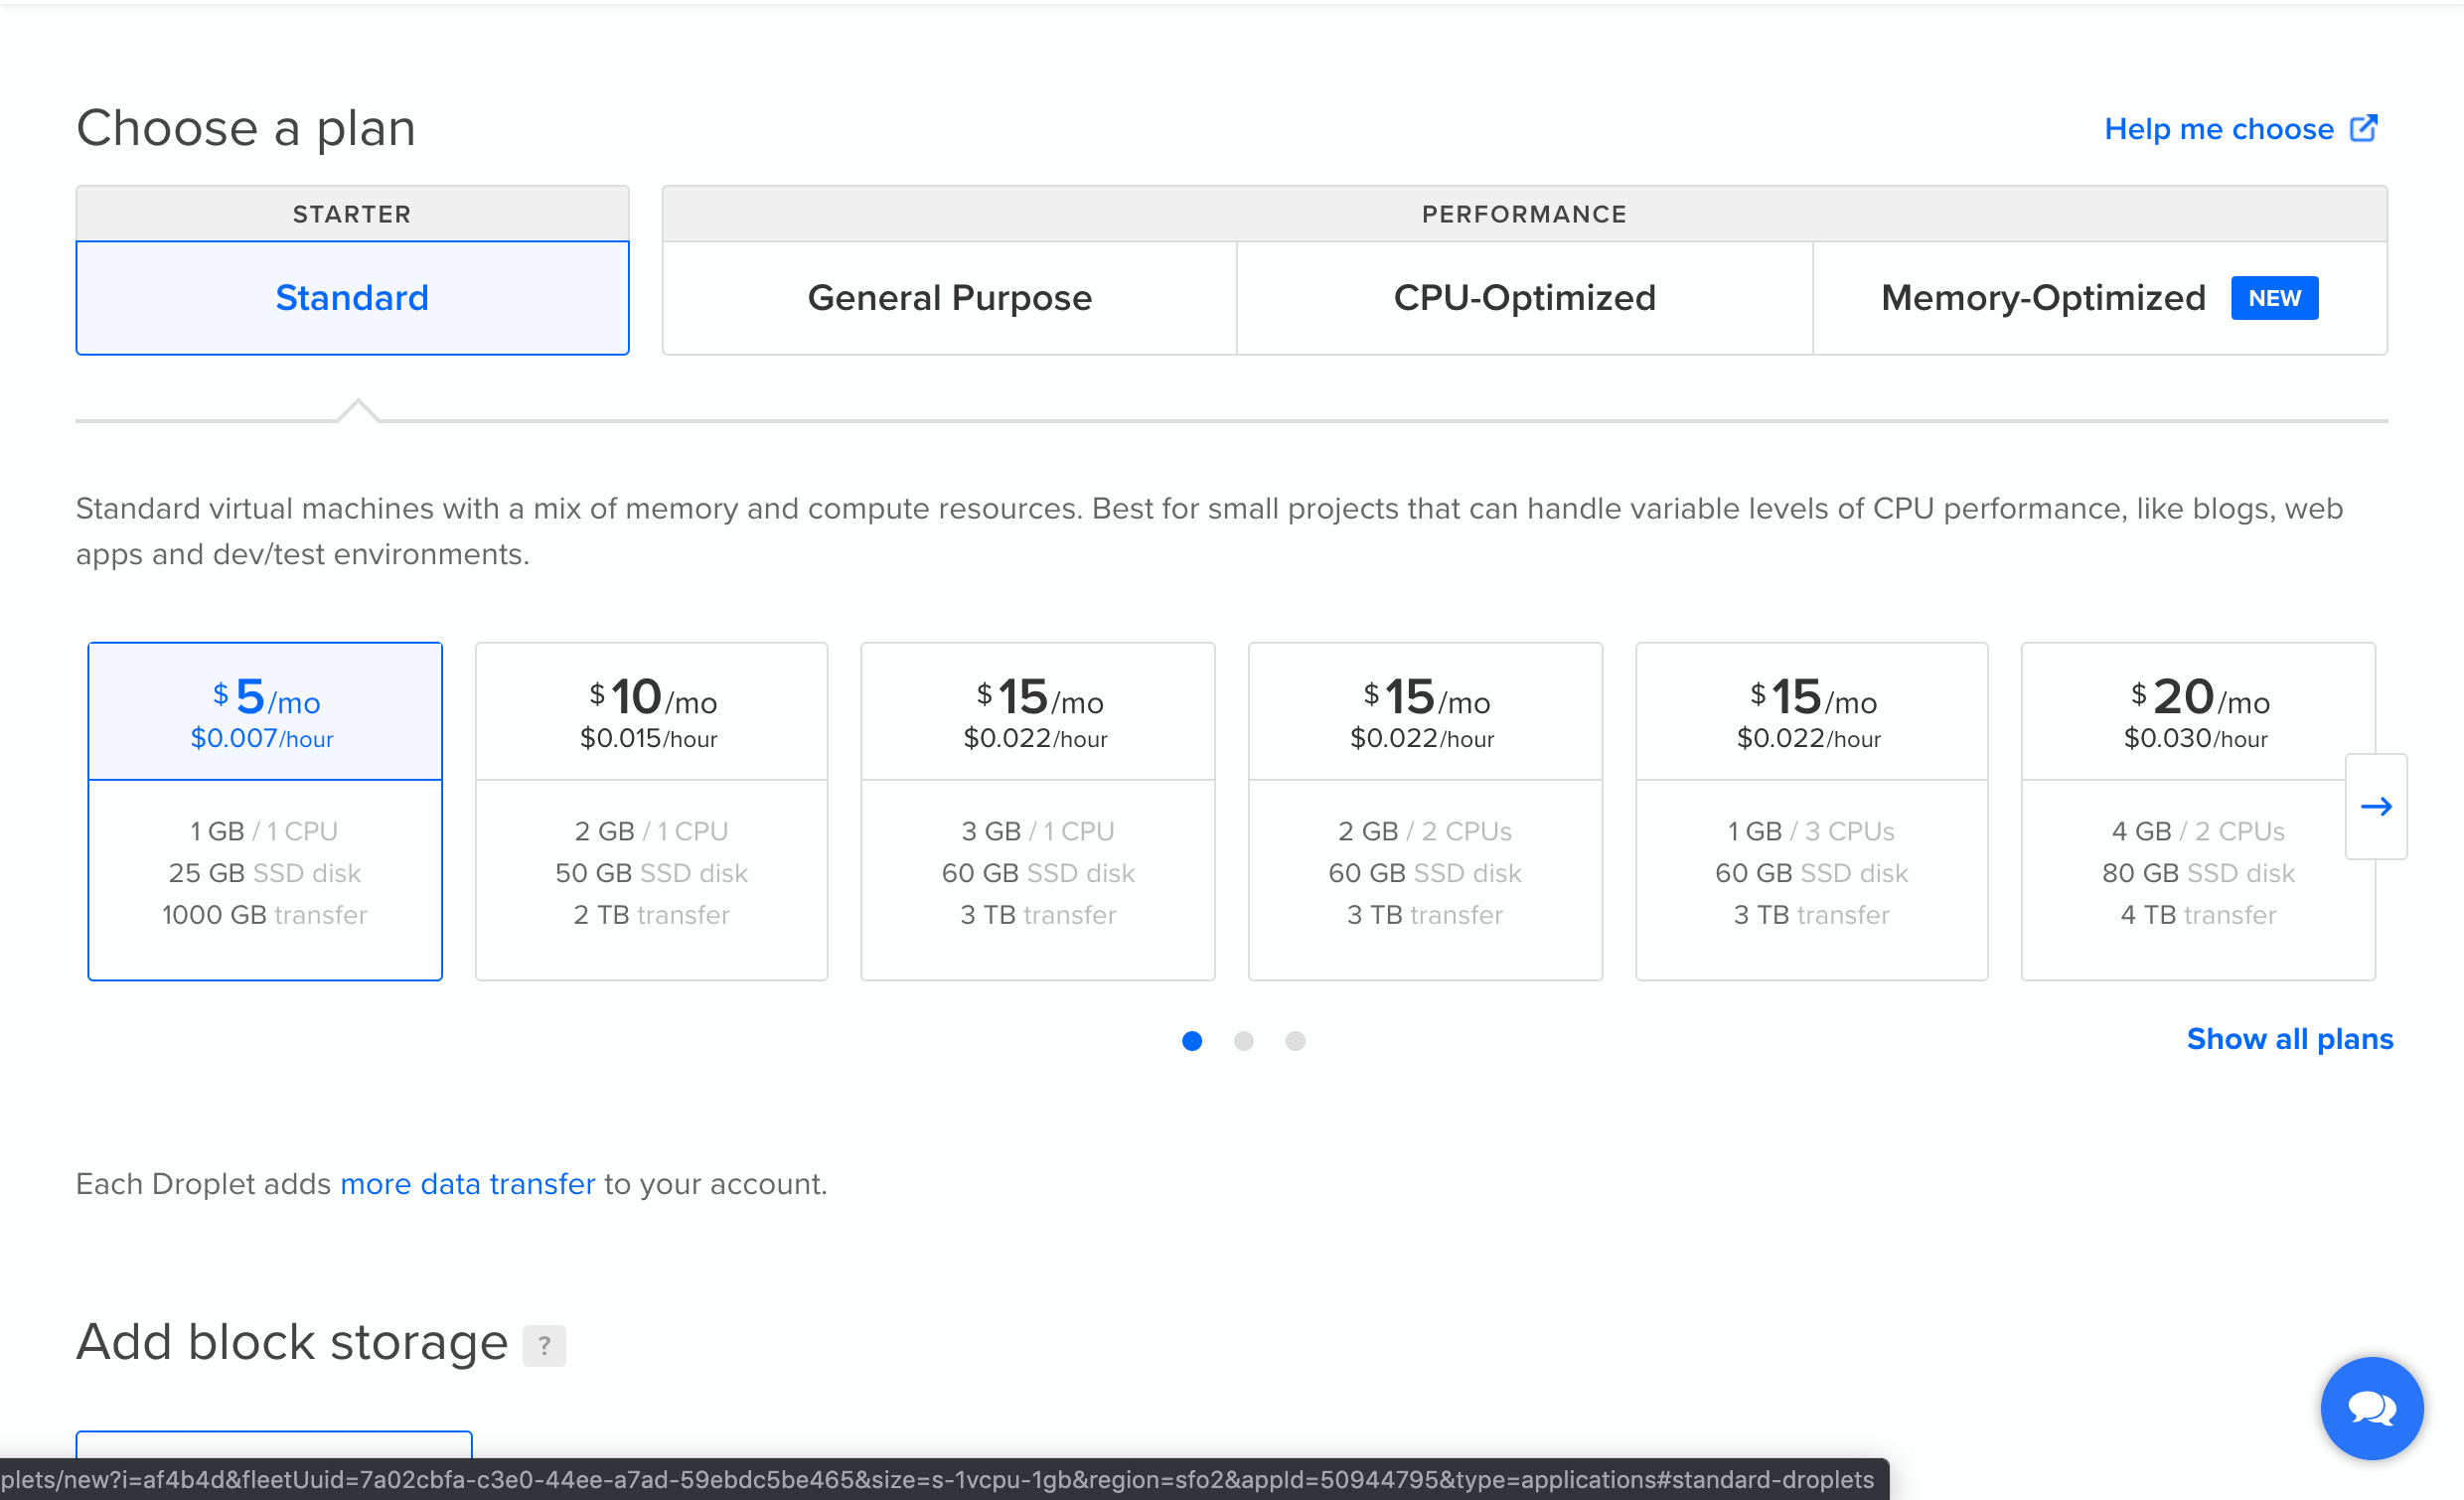
Scroll down and select your Droplet plan:
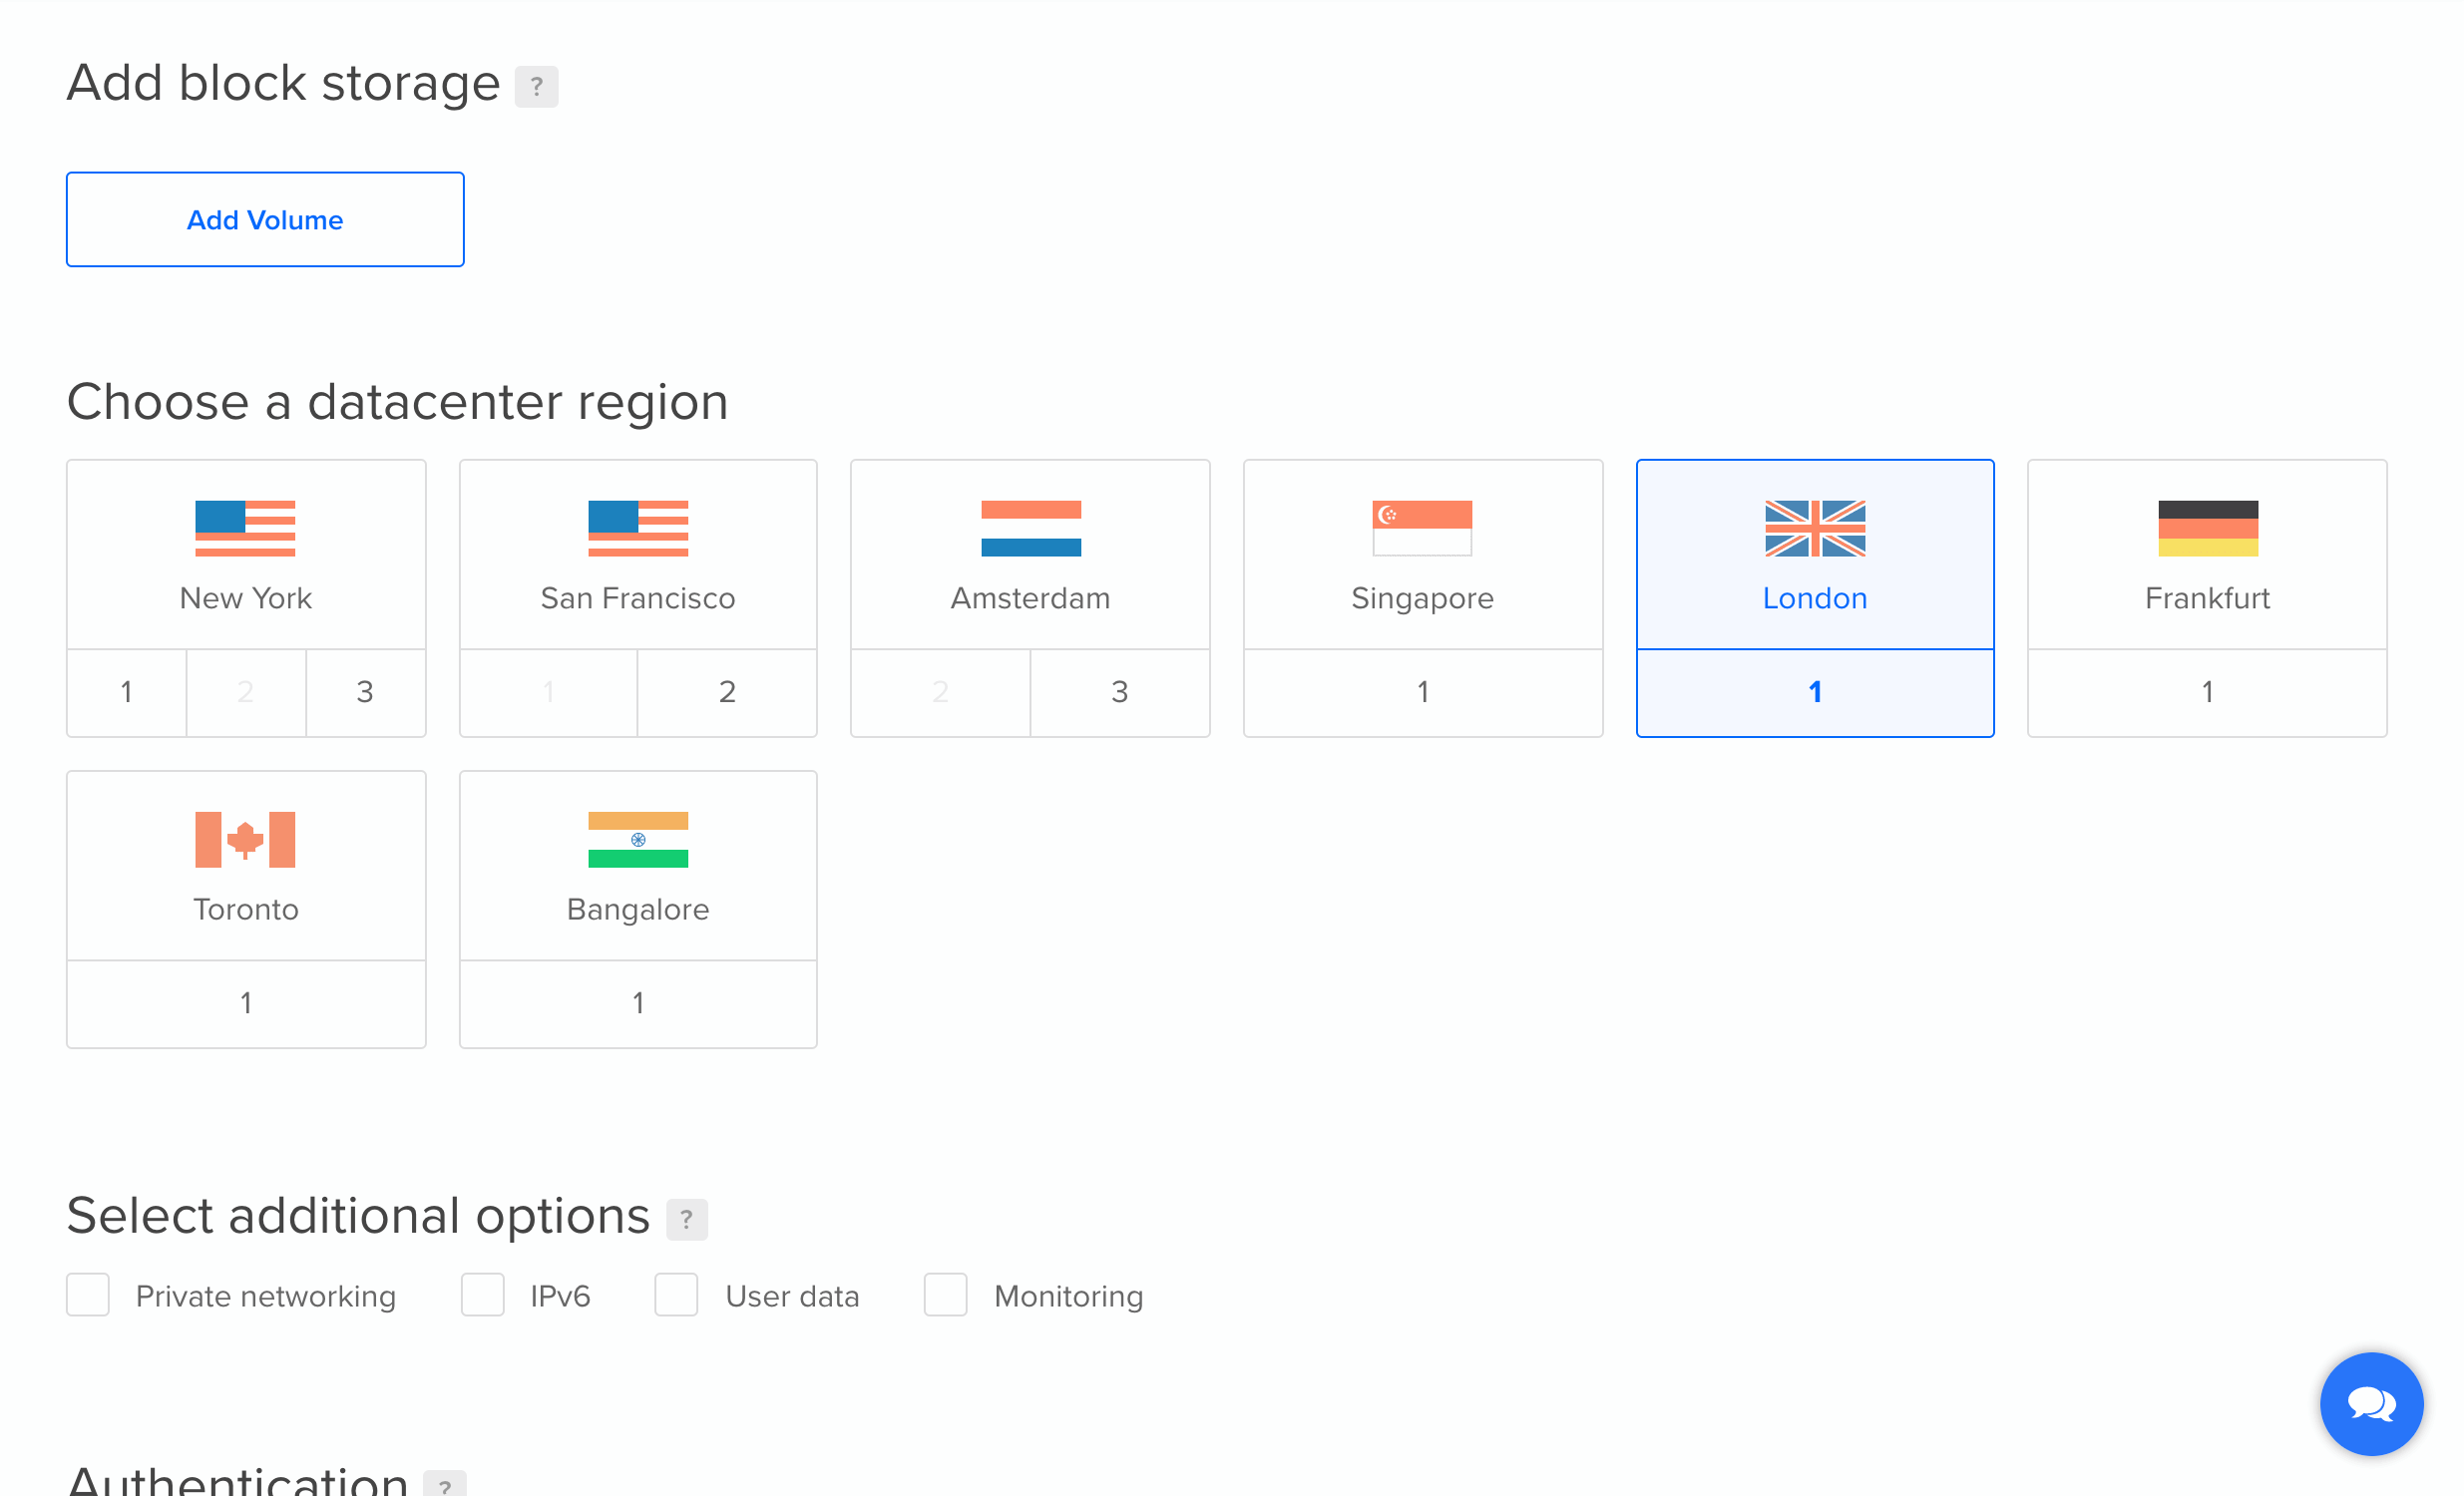
Choose a region near you:
Choose an existing SSH key, or create a new one, then give your Droplet a name a click ‘Create Droplet’
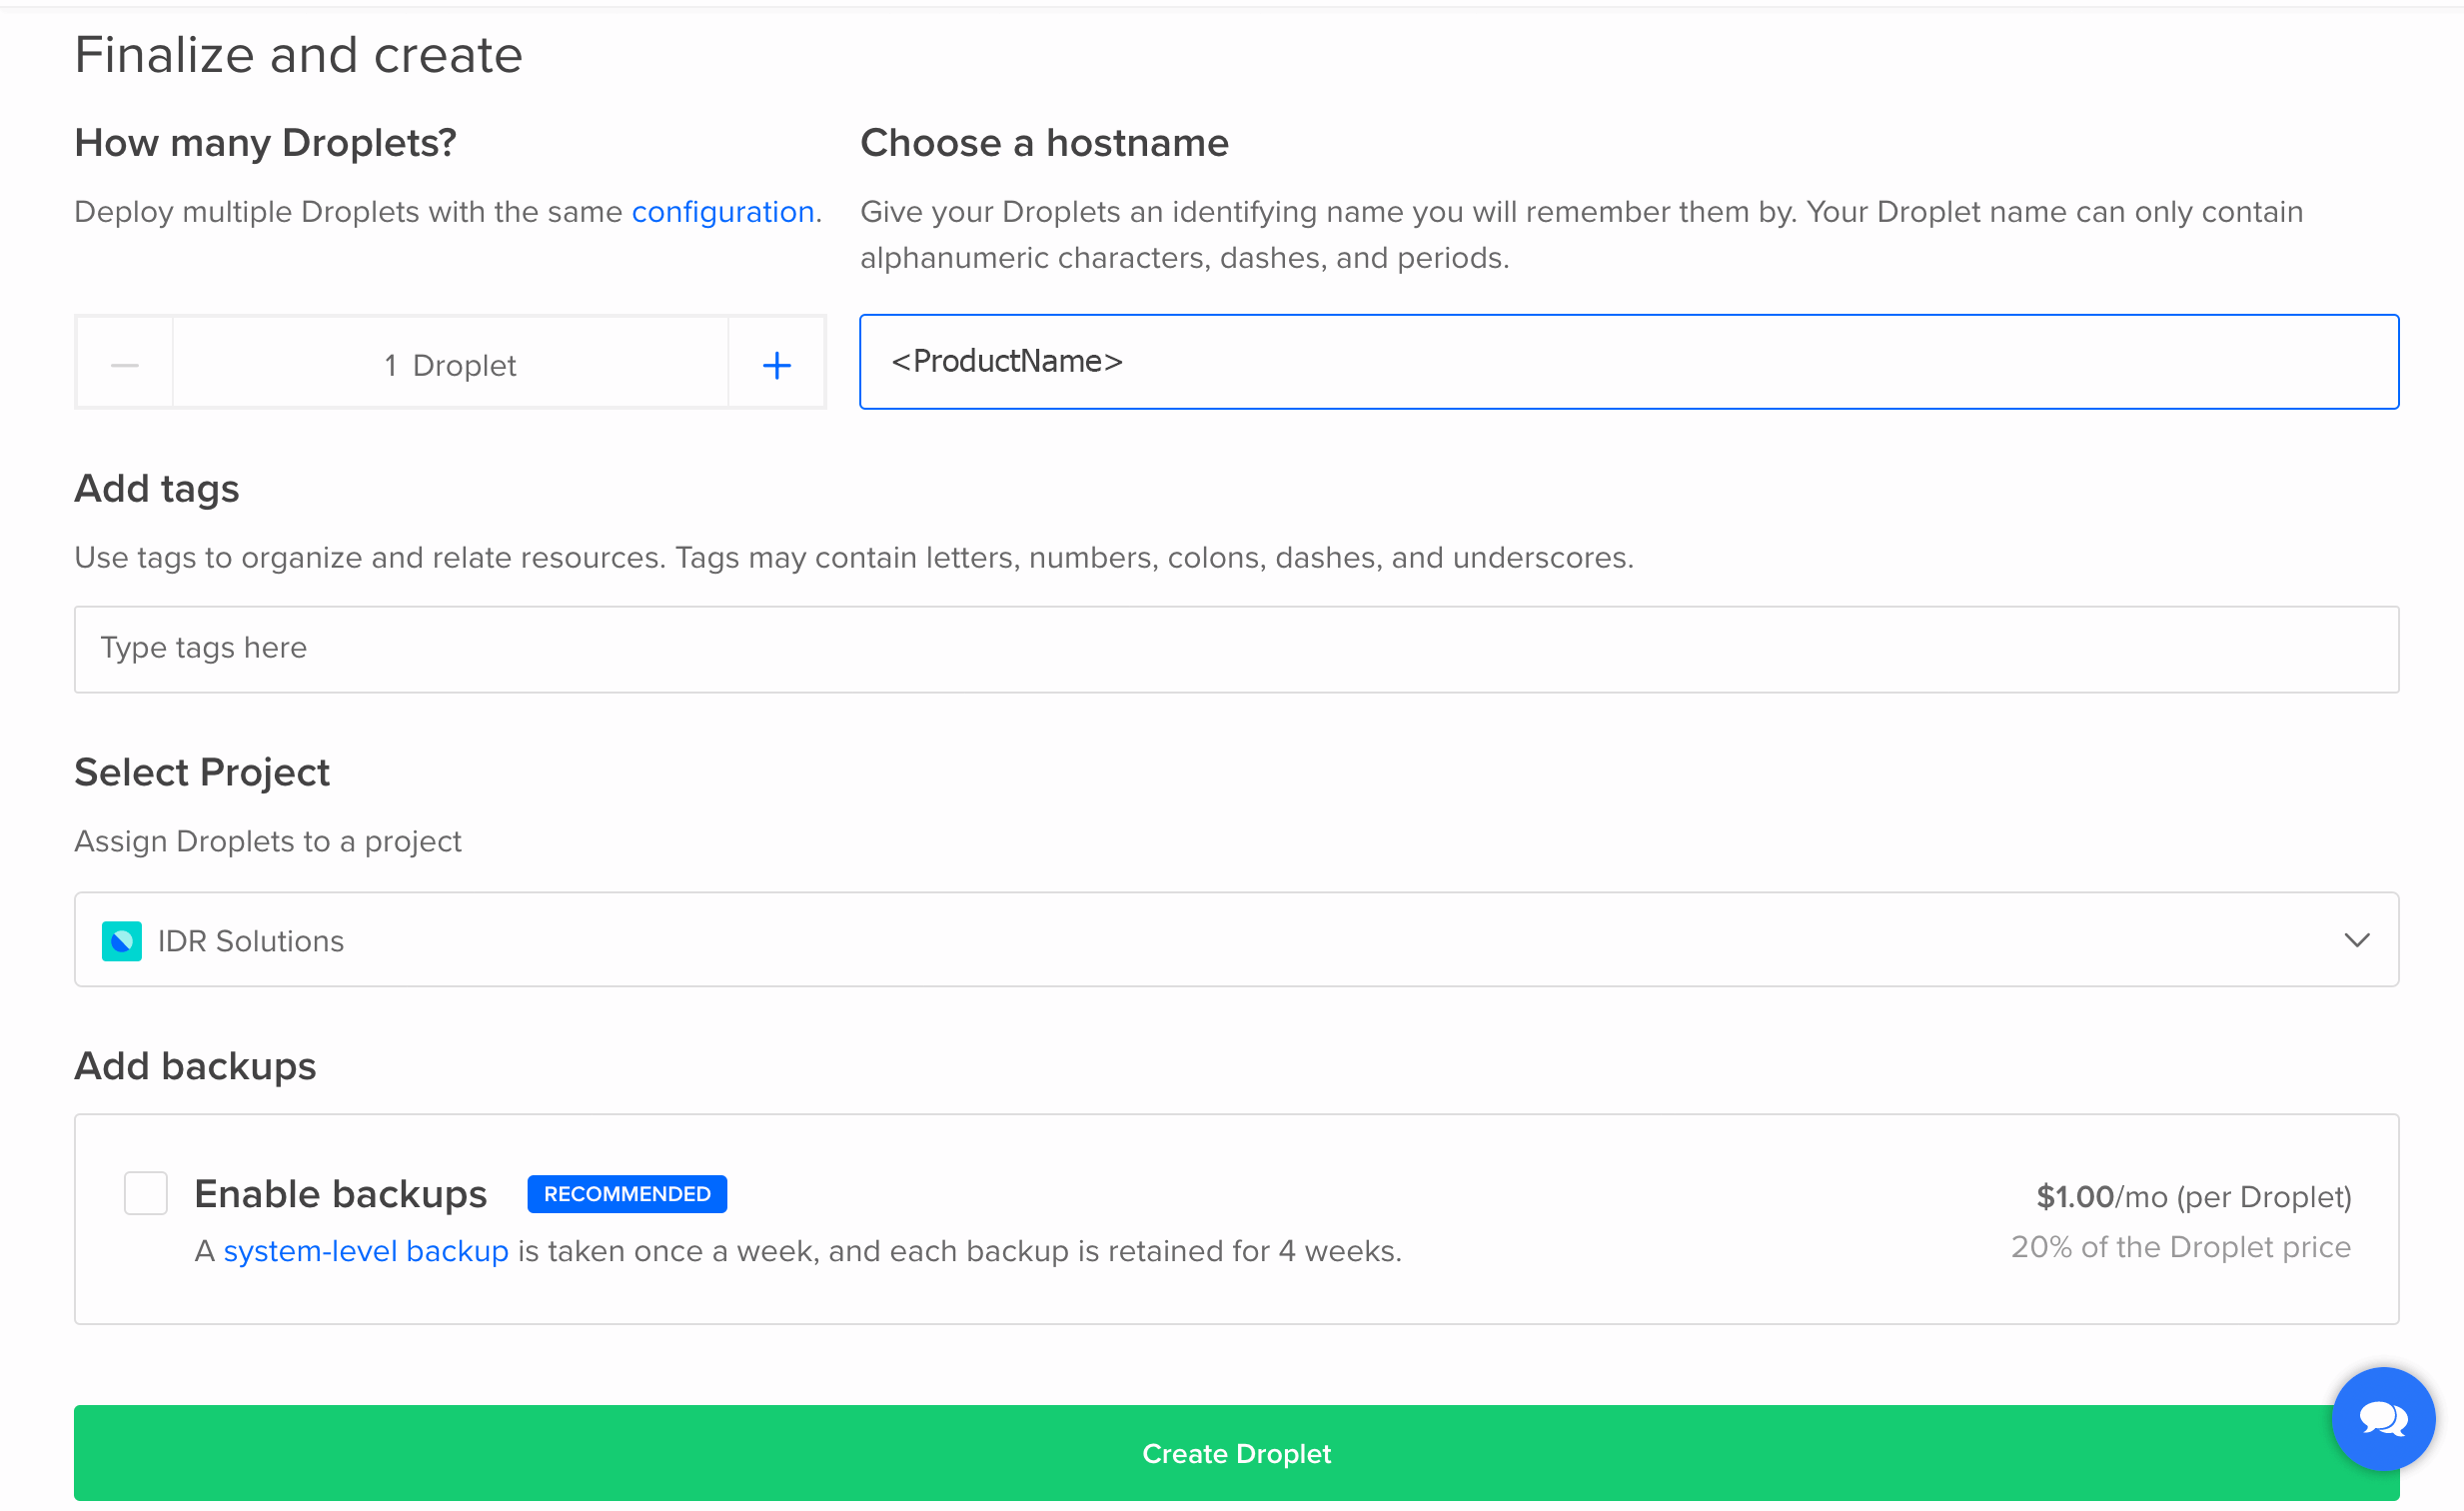
You will see a progress bar while your Droplet is being prepared:
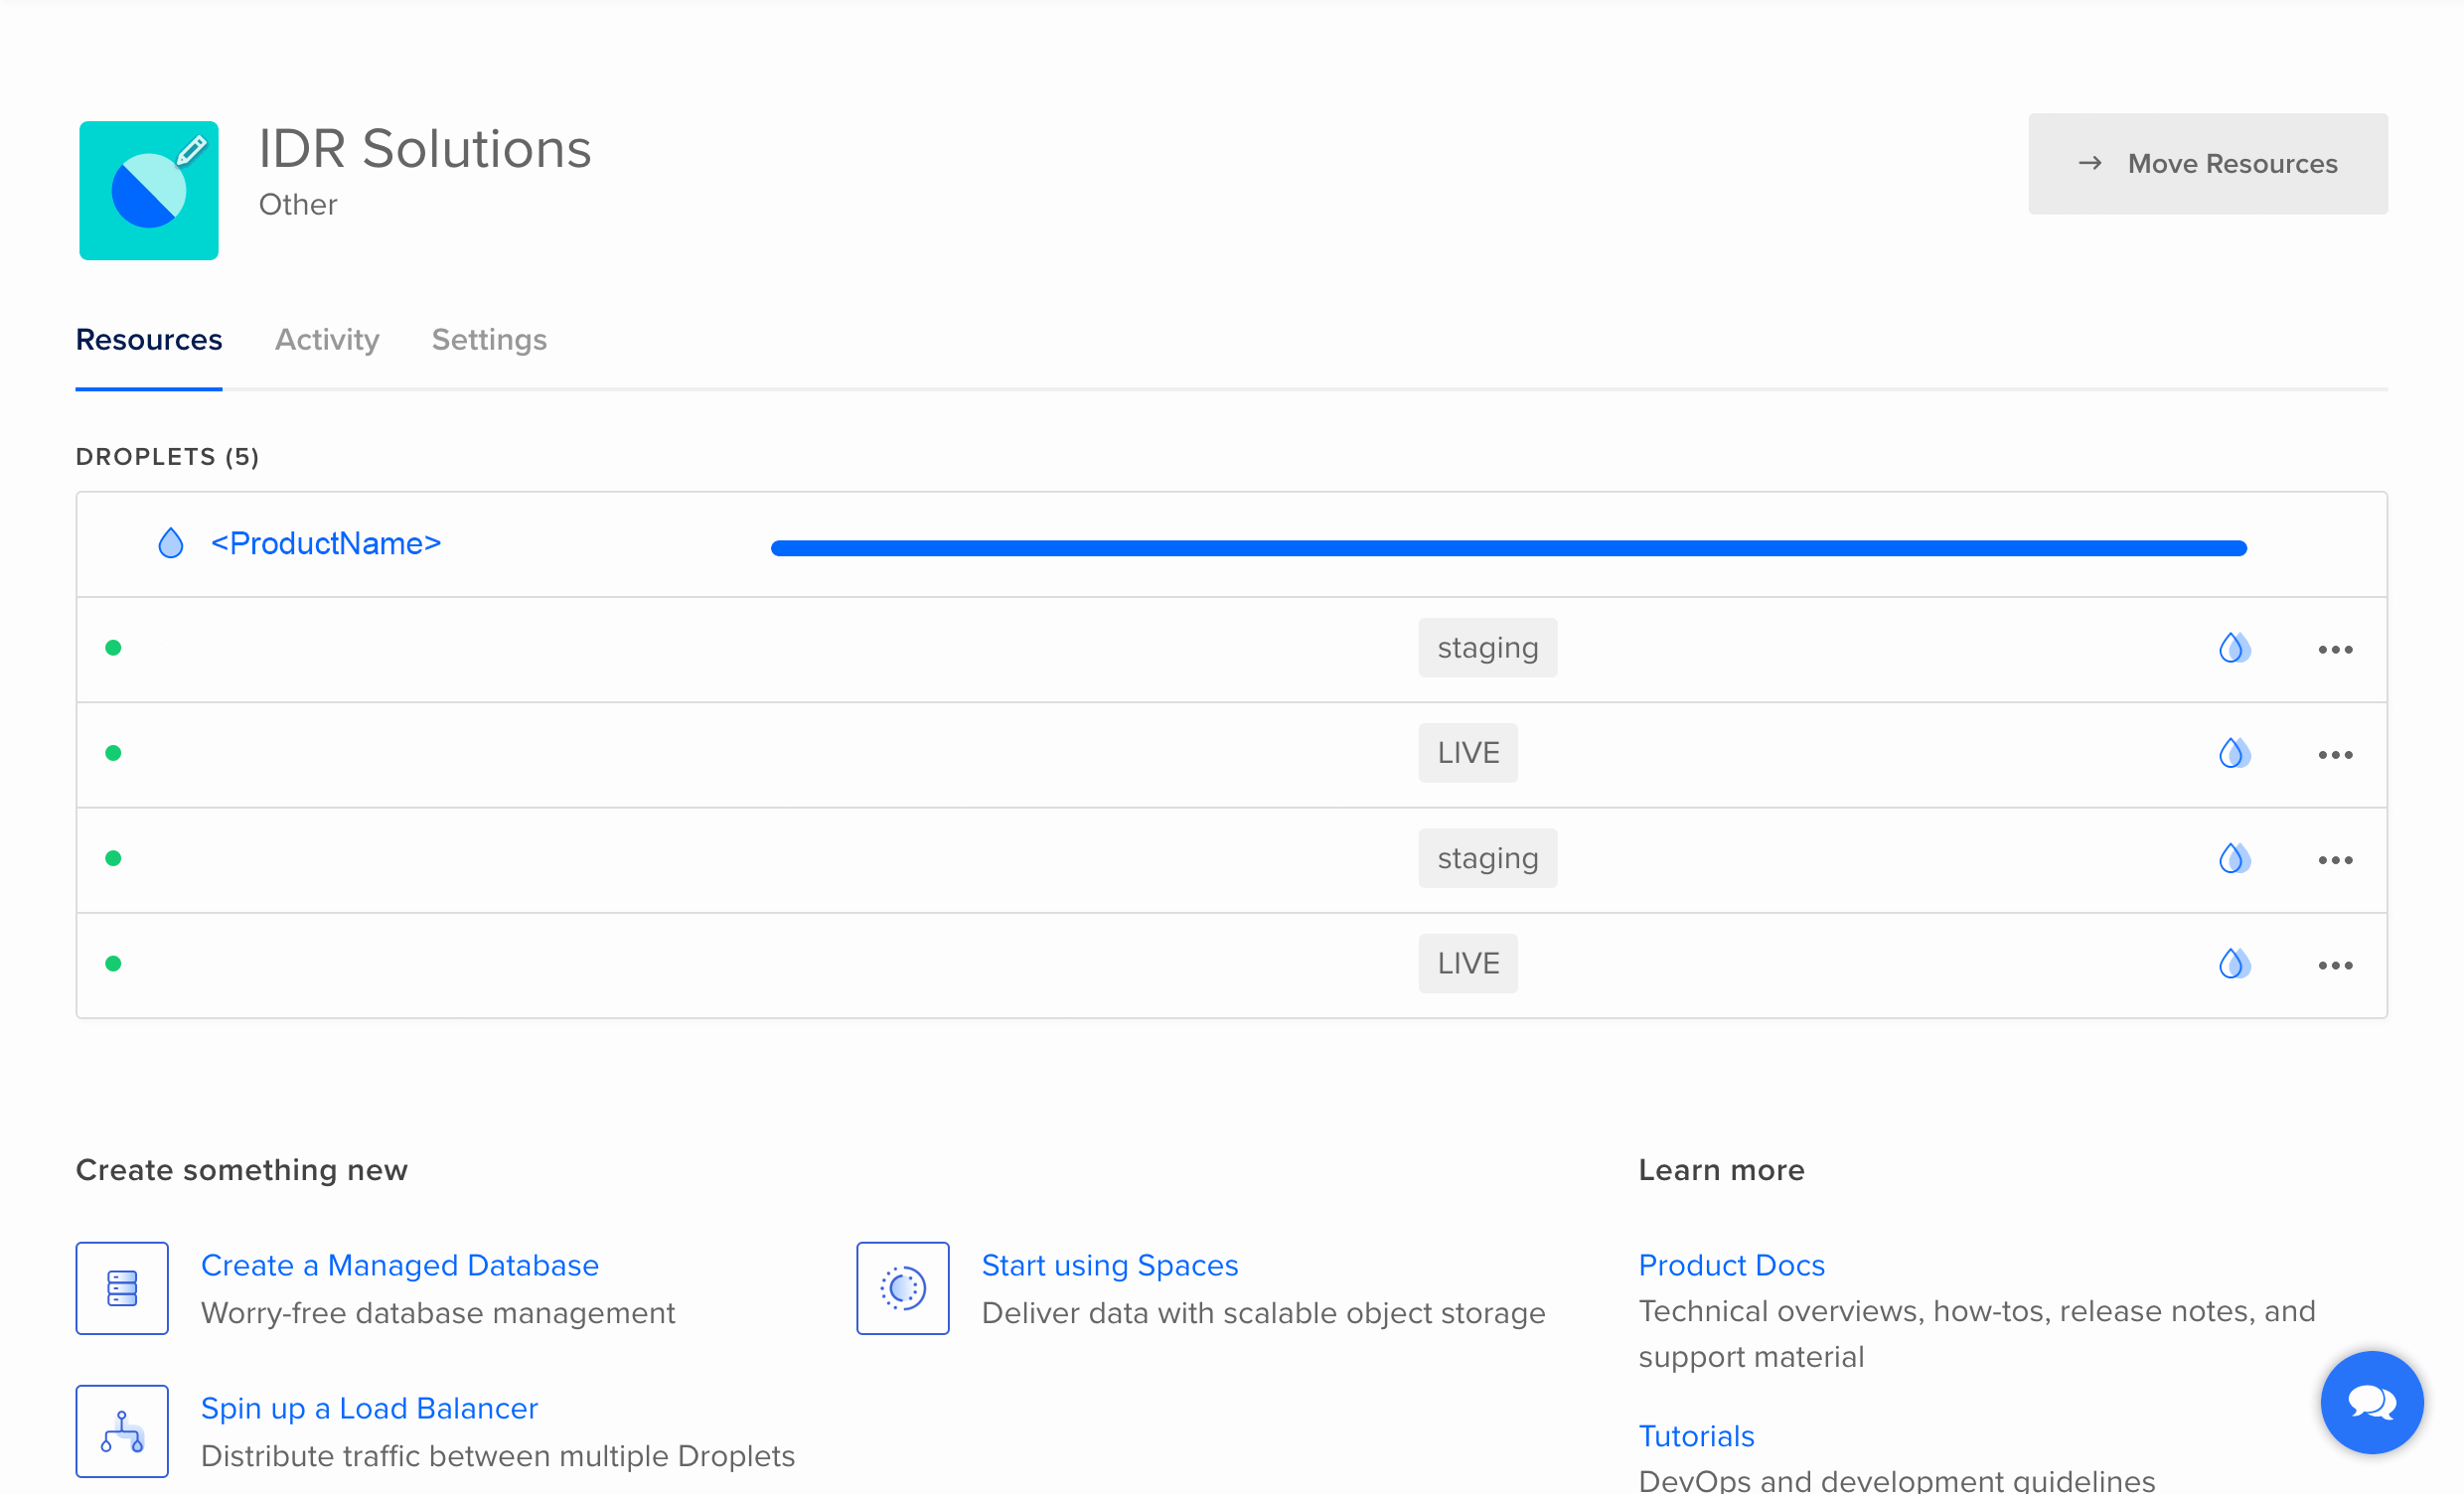
When it’s done, click on its IP address to copy it. If you wish to use HTTPS, you will need to create a DNS A record to map this IP address to a domain name.

Bring up a terminal and SSH into your new droplet using either it’s IP address or domain name:
ssh root@<IP or domain>
Open up the HTTP port in the firewall:
ufw allow http
Transfer the war file to your droplet
To be able to mount the war file you need to ensure it is in the droplets directory, so you will need to transfer it.
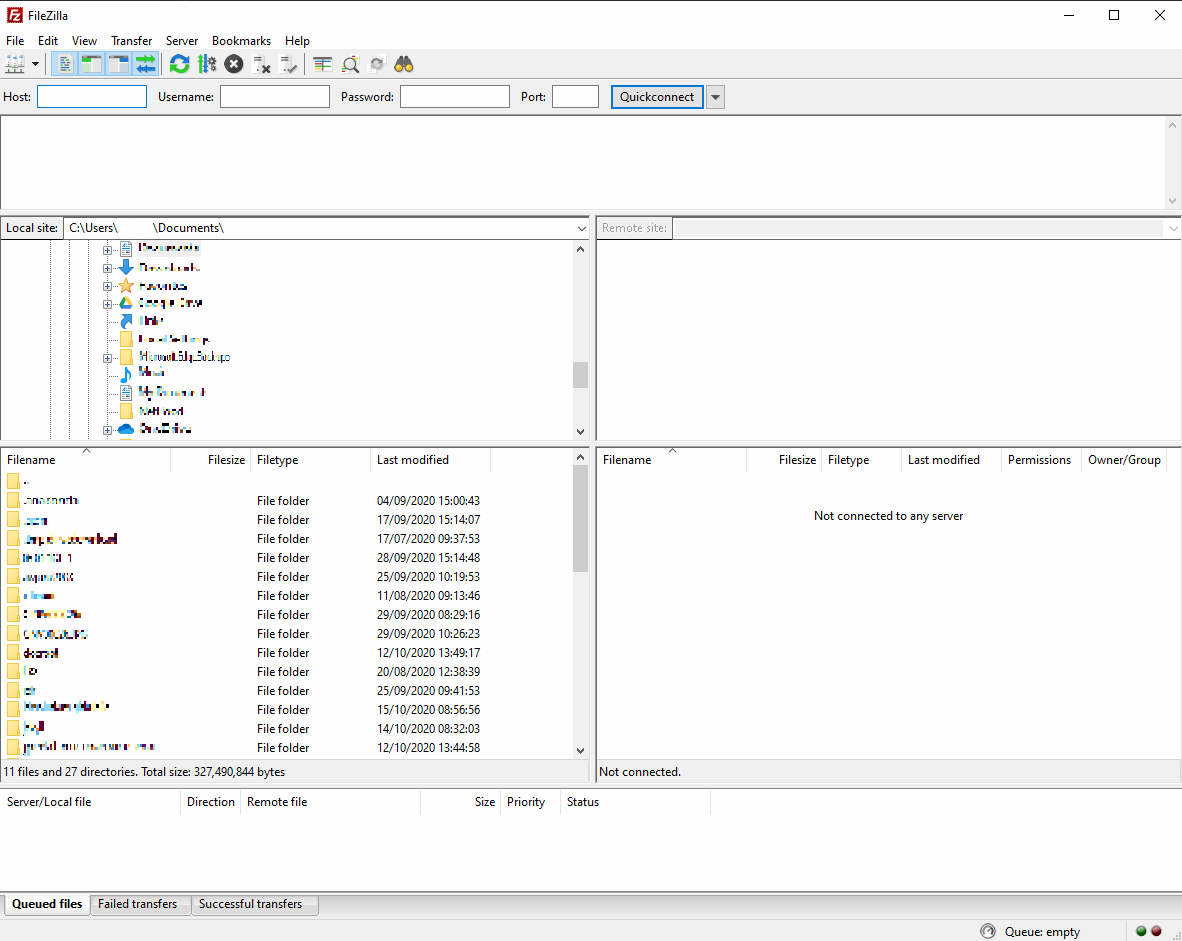
Download and install FileZilla. Then follow the installation instructions, and the application should automatically open to this:
Now go to settings in the Edit menu and click on SFTP under connection. 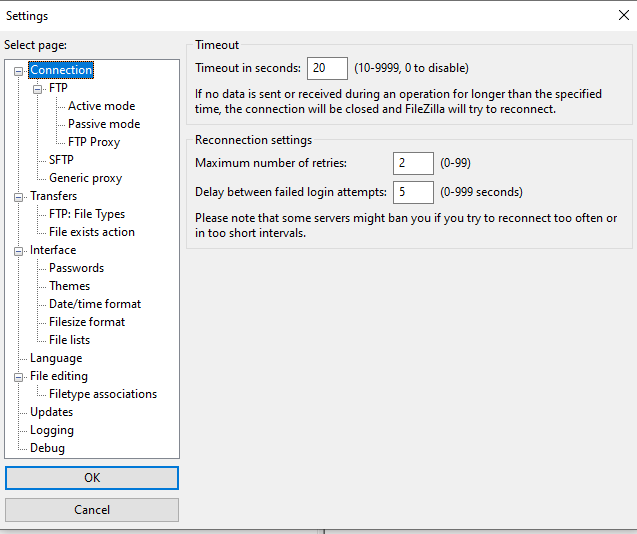
Click the ‘add key file’ button and here you will be asked for your droplet SSH key, you can locate this in your local machine. If prompted to convert the file into a supported format, click yes. 
Now go to Site Manager in the File menu, click new site and enter the droplet name and select as shown below: 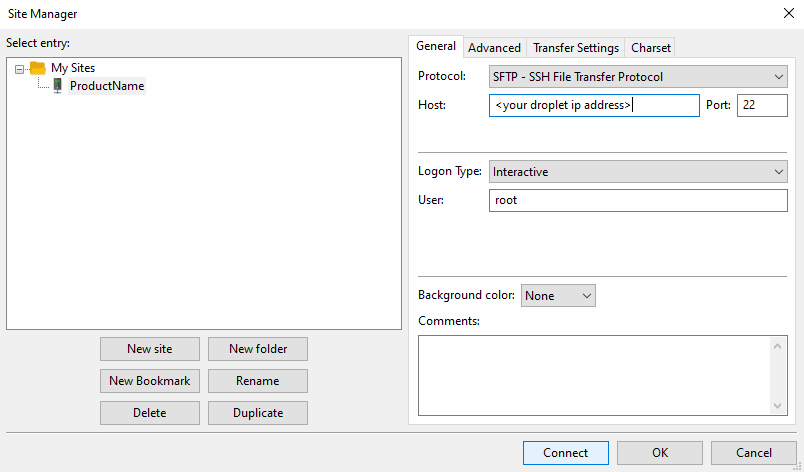
Once you have entered the information, click connect and you should see your droplet in the remote site side. Now you can transfer your war over to do this just navigate to the war, right click on it and select upload. 
You should now see it in your droplet.
Run the JPedal droplet
docker run -p 80:80 --mount "source=/root/jpedal-microservice.war,target=/usr/local/tomcat/webapps/ROOT.war,type=bind" idrsolutions/jpedal
Open up the IP address/domain in your browser. You should be prompted for your username and password if you have set them
Enabling HTTPS
To enable HTTPS, you need to open up the HTTPS port in the firewall, then you need a valid SSL certificate and key mounted at /opt/ssl in the container.
Open up the HTTPS port:
ufw allow https
Create SSL directory on host machine:
mkdir /opt/ssl
Ensure that certificate.crt and private.key are present in that folder, then run the JPedal container, ensuring that port 443 is also forwarded to it, and the /opt/ssl folder is mounted:
docker run -p 80:80 -p 443:443 --mount "source=/root/jpedal-microservice.war,target=/usr/local/tomcat/webapps/ROOT.war,type=bind" --mount "source=/opt/ssl,target=/opt/ssl,type=bind,readonly" idrsolutions/jpedal
Give it a few minutes to spin up, then check https://<IP or domain> to make sure it works.
In order to add additional features such as authentication, multiple users, or access to the converted files without the API you can find further details on our docker image page.
Enabling Daemon mode
In order for the container to continue running once the SSH session ends, you need to run it in daemon mode. Just add the -d flag after the docker command like so:
docker run -d -p 80:80 -p 443:443 --mount "source=/root/jpedal-microservice.war,target=/usr/local/tomcat/webapps/ROOT.war,type=bind" --mount "source=/opt/ssl,target=/opt/ssl,type=bind,readonly" idrsolutions/jpedal
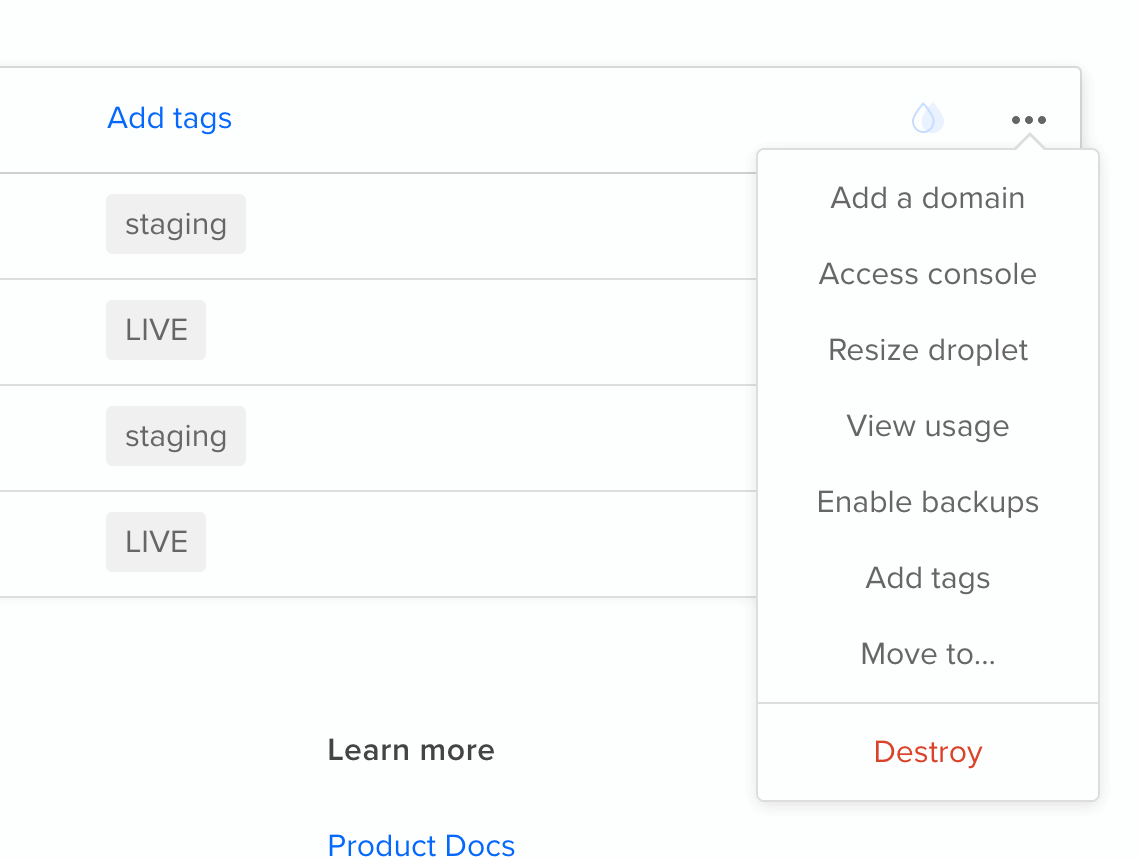
When you’re done with your Droplet, you can Destroy it, so it doesn’t run up your bill:
Running JPedal from different language clients
Now that you have the docker server running you can follow the tutorials for using the API to begin your conversions.